Cyanotype Promo piece
DESIGN BRIEF
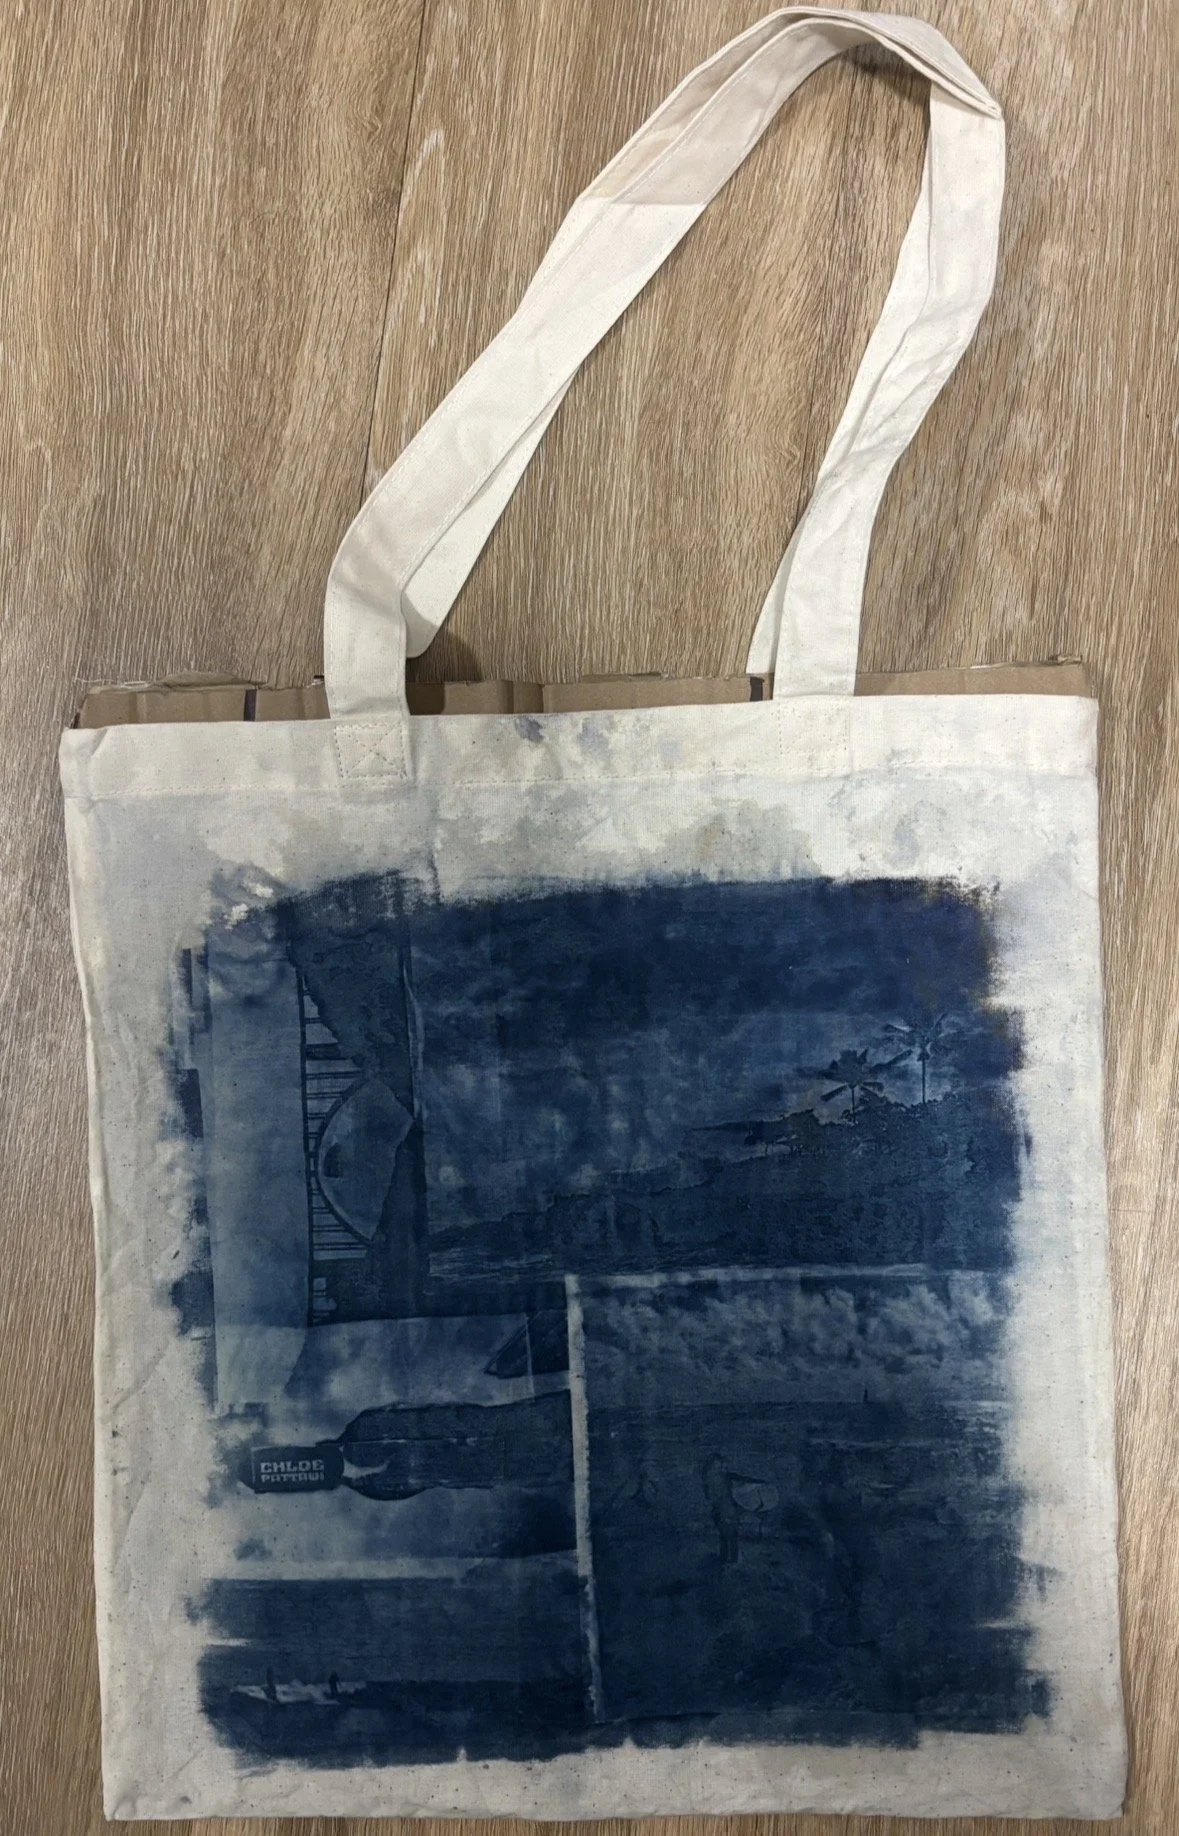
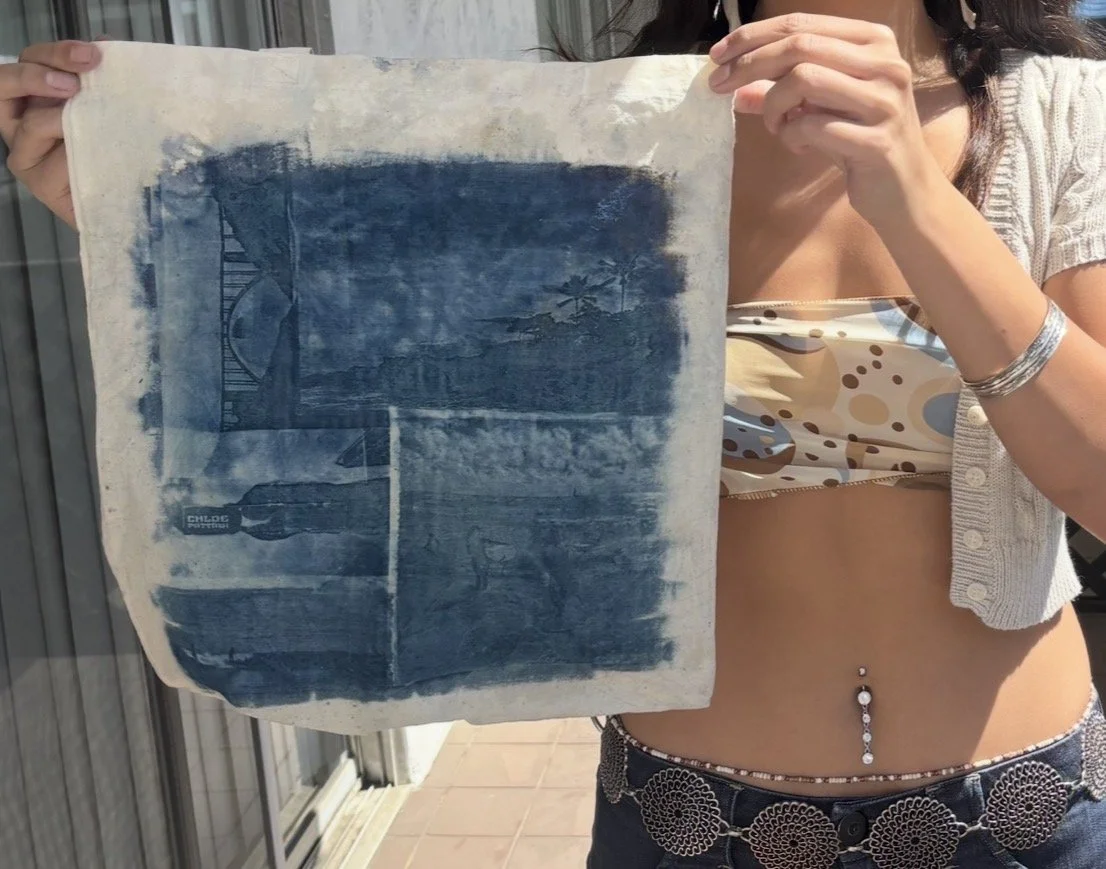
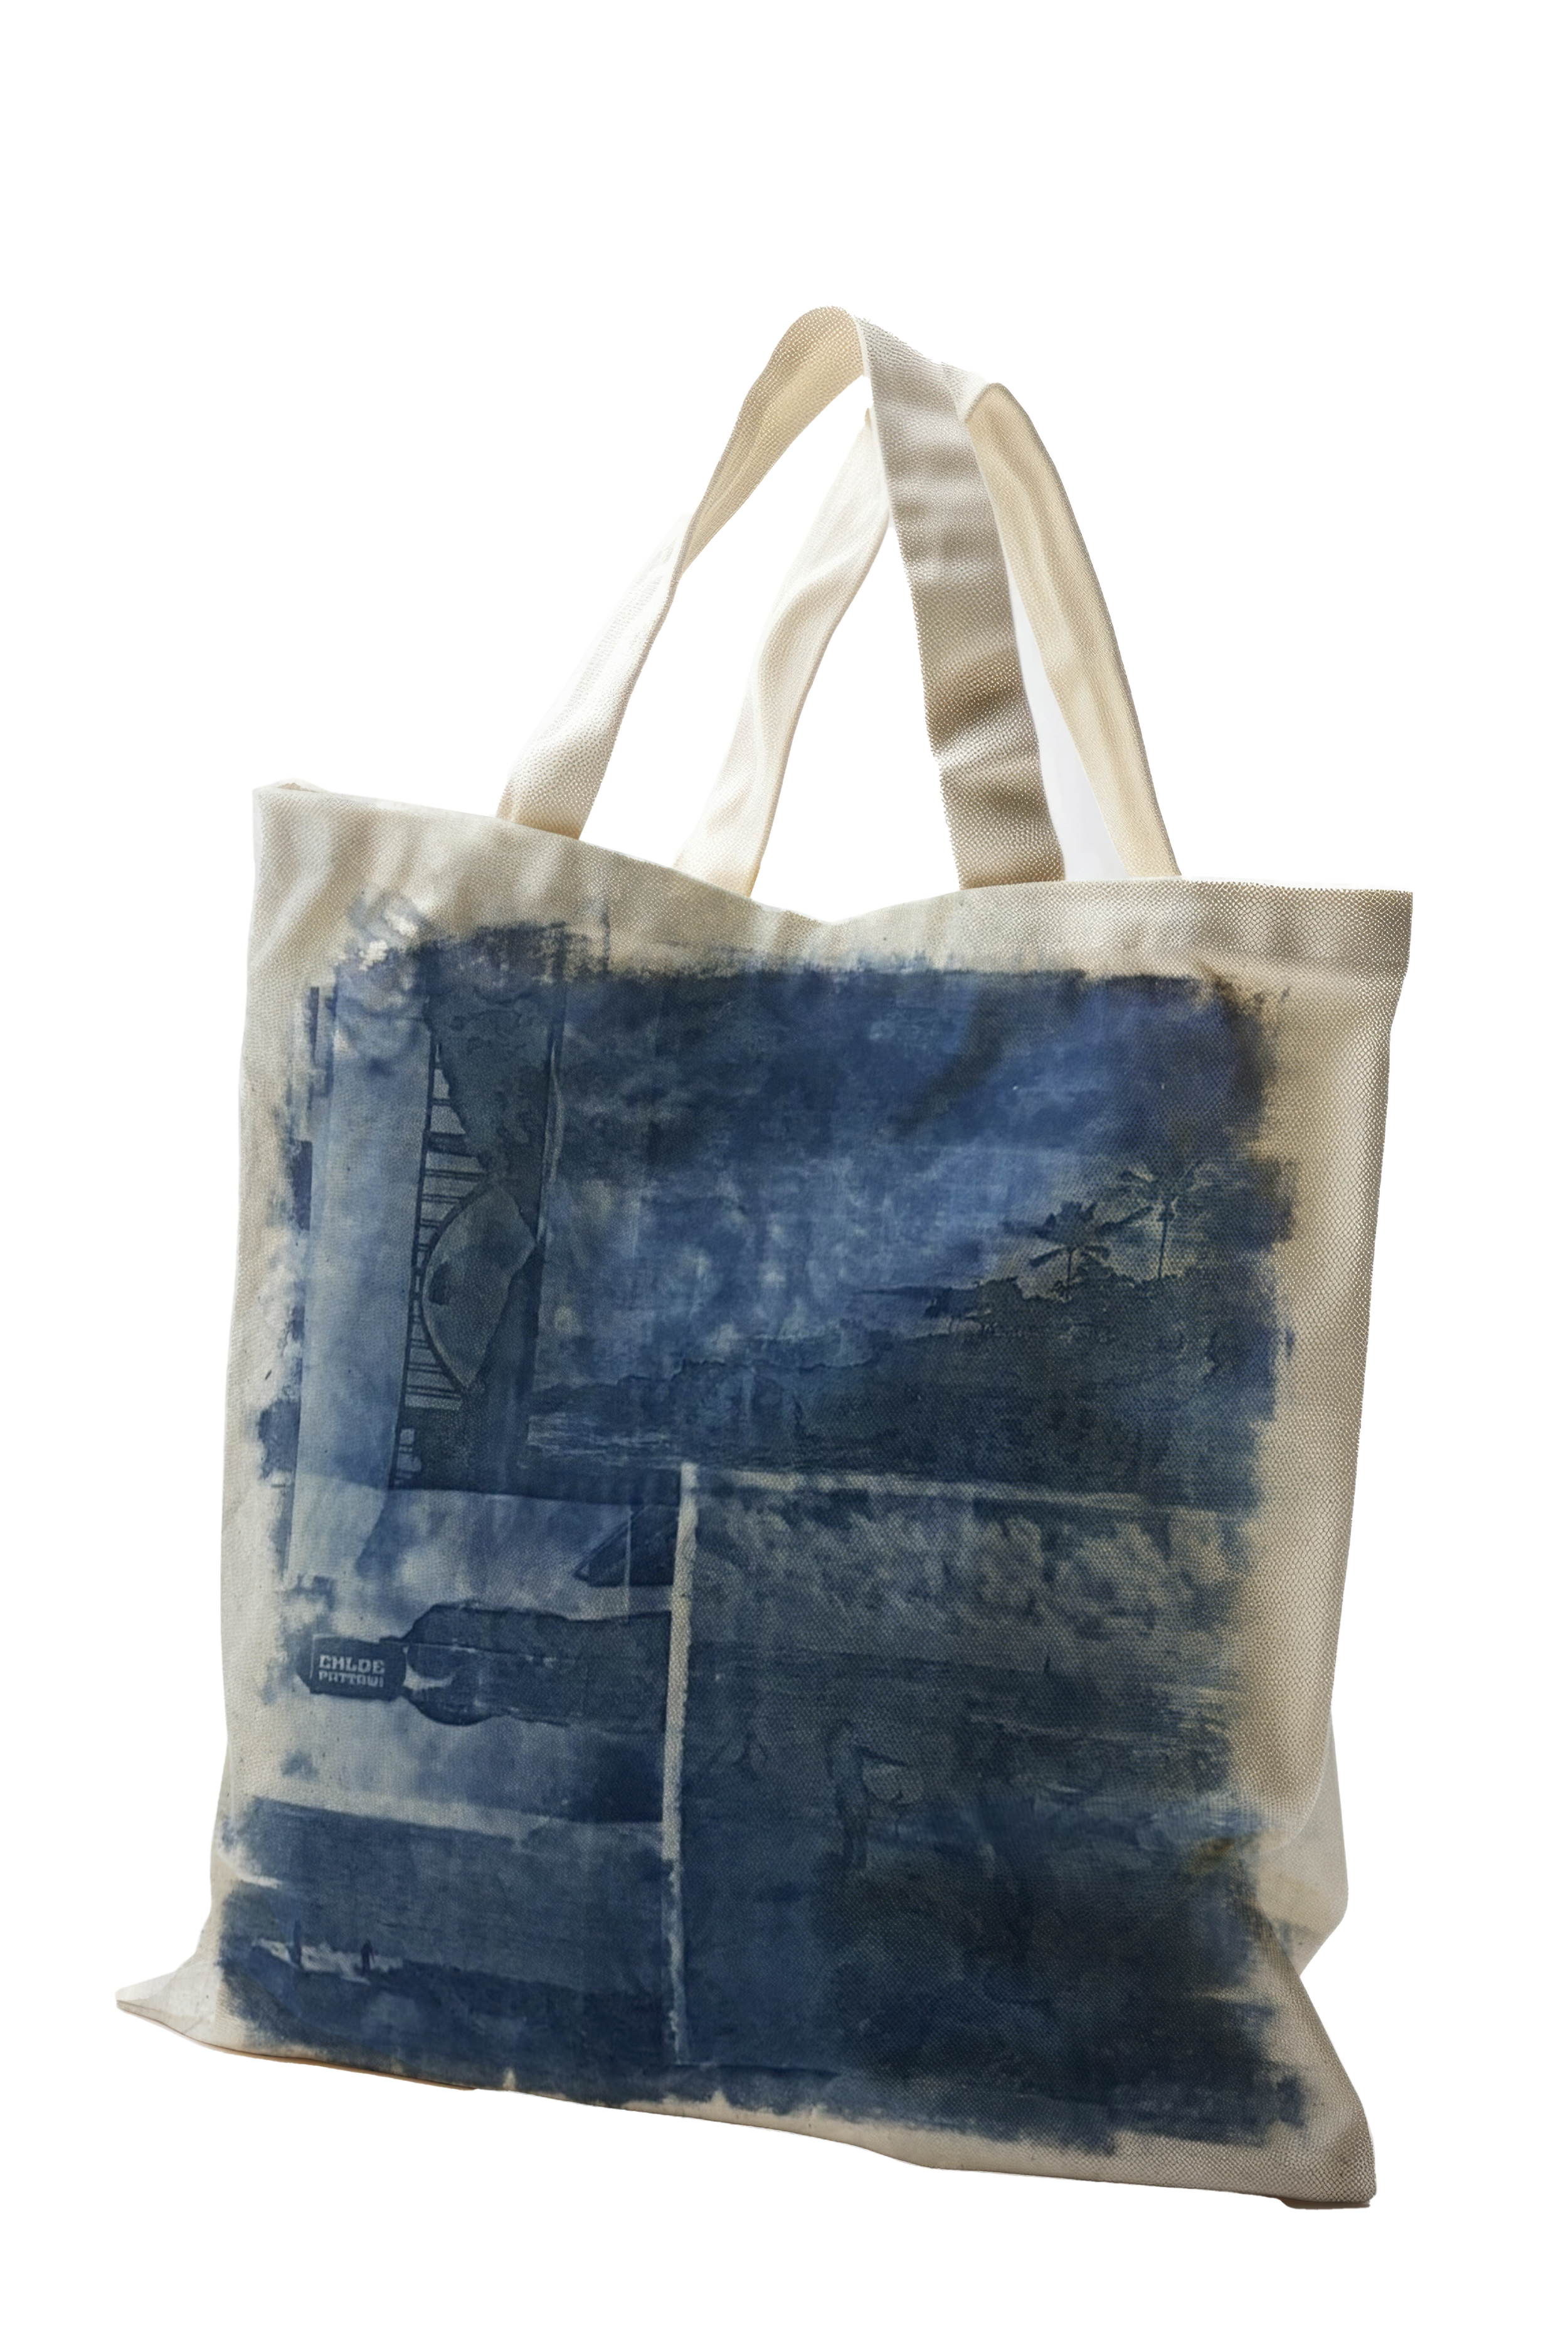
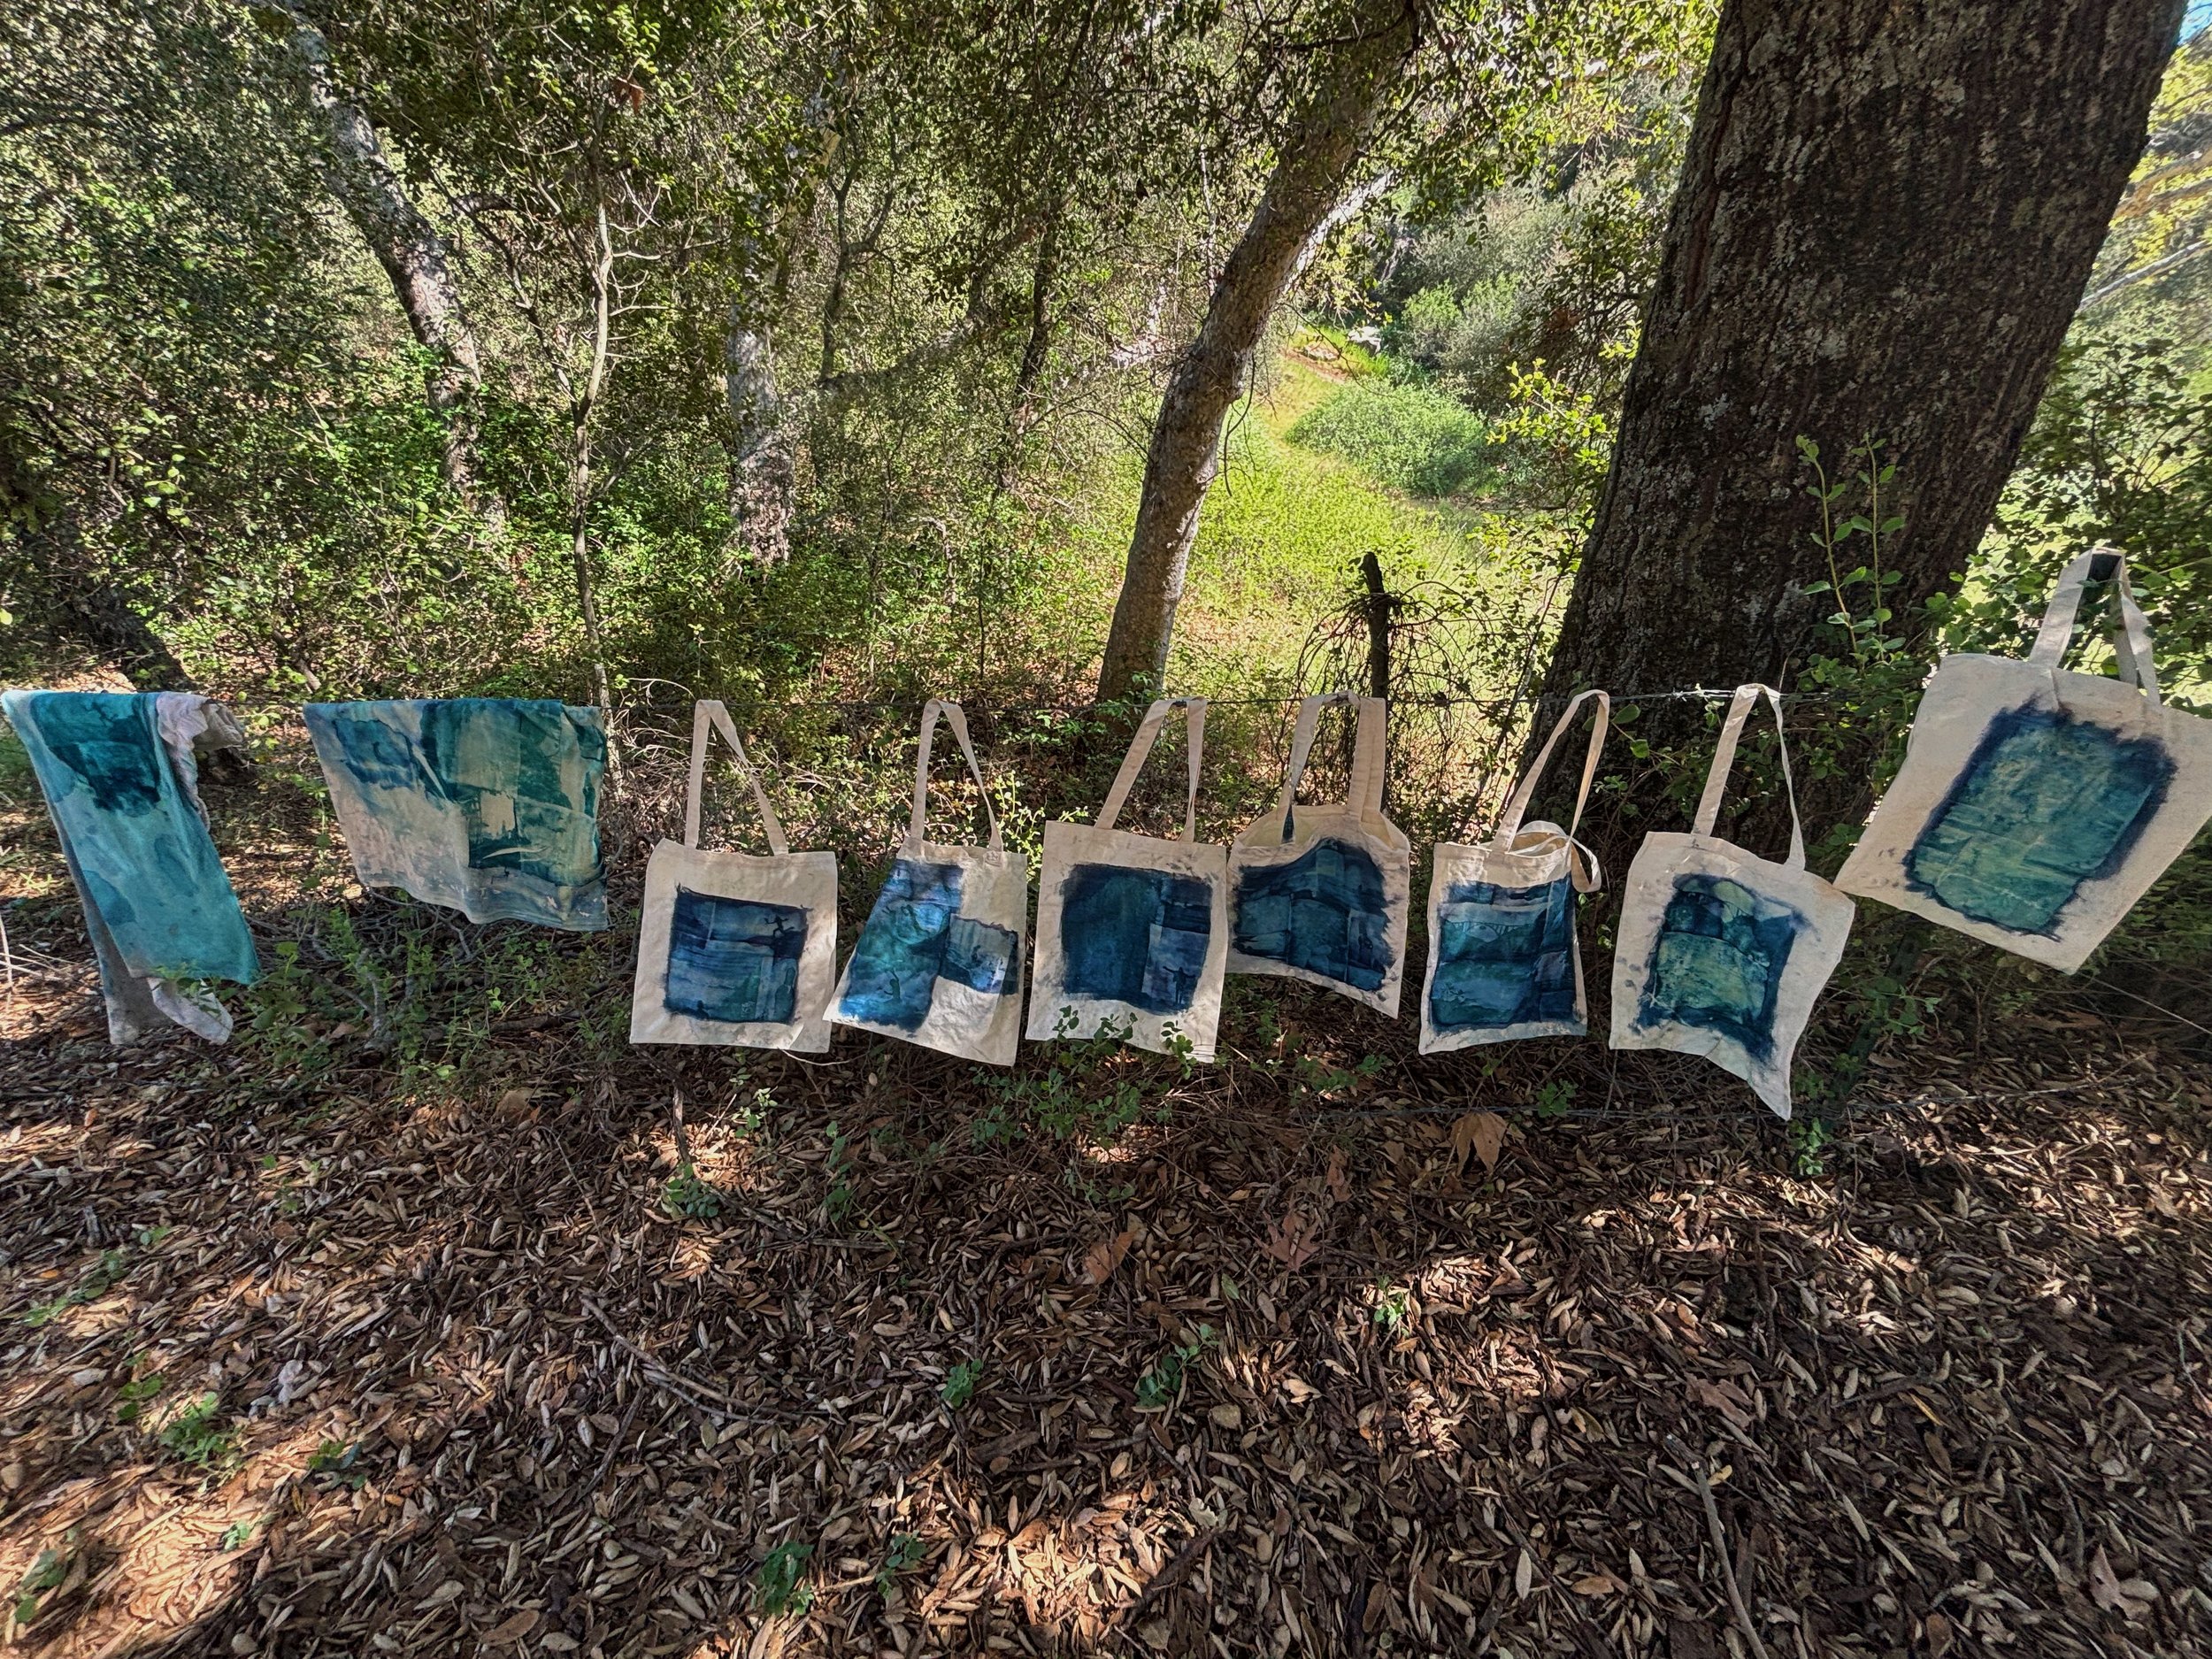
When deciding on what to show as a self-promotion piece at my senior portfolio show, I wanted to choose something that could showcase many aspects of my style and skills as an artist. I decided to create tote bags using cyanotypes, which is one of the early forms of photo printing.
I then wanted to incorporate some of my sewing skills into my final product and decided to include some unique hand embroidery. My embroidery style is abstract and captures my style as a graphic designer.
I first learned about cyanotypes in my high school darkroom photography class, where we used our film negatives to create unique sun prints. Cyanotype printing is activated by UV light, and the process involves painting the cyanotype solution onto a material of your choice, then placing objects or inverted images on top and leaving them in the sun to develop. After the photos develop, you take your creation and run them under water to wash out the excess dye, and then you are done!
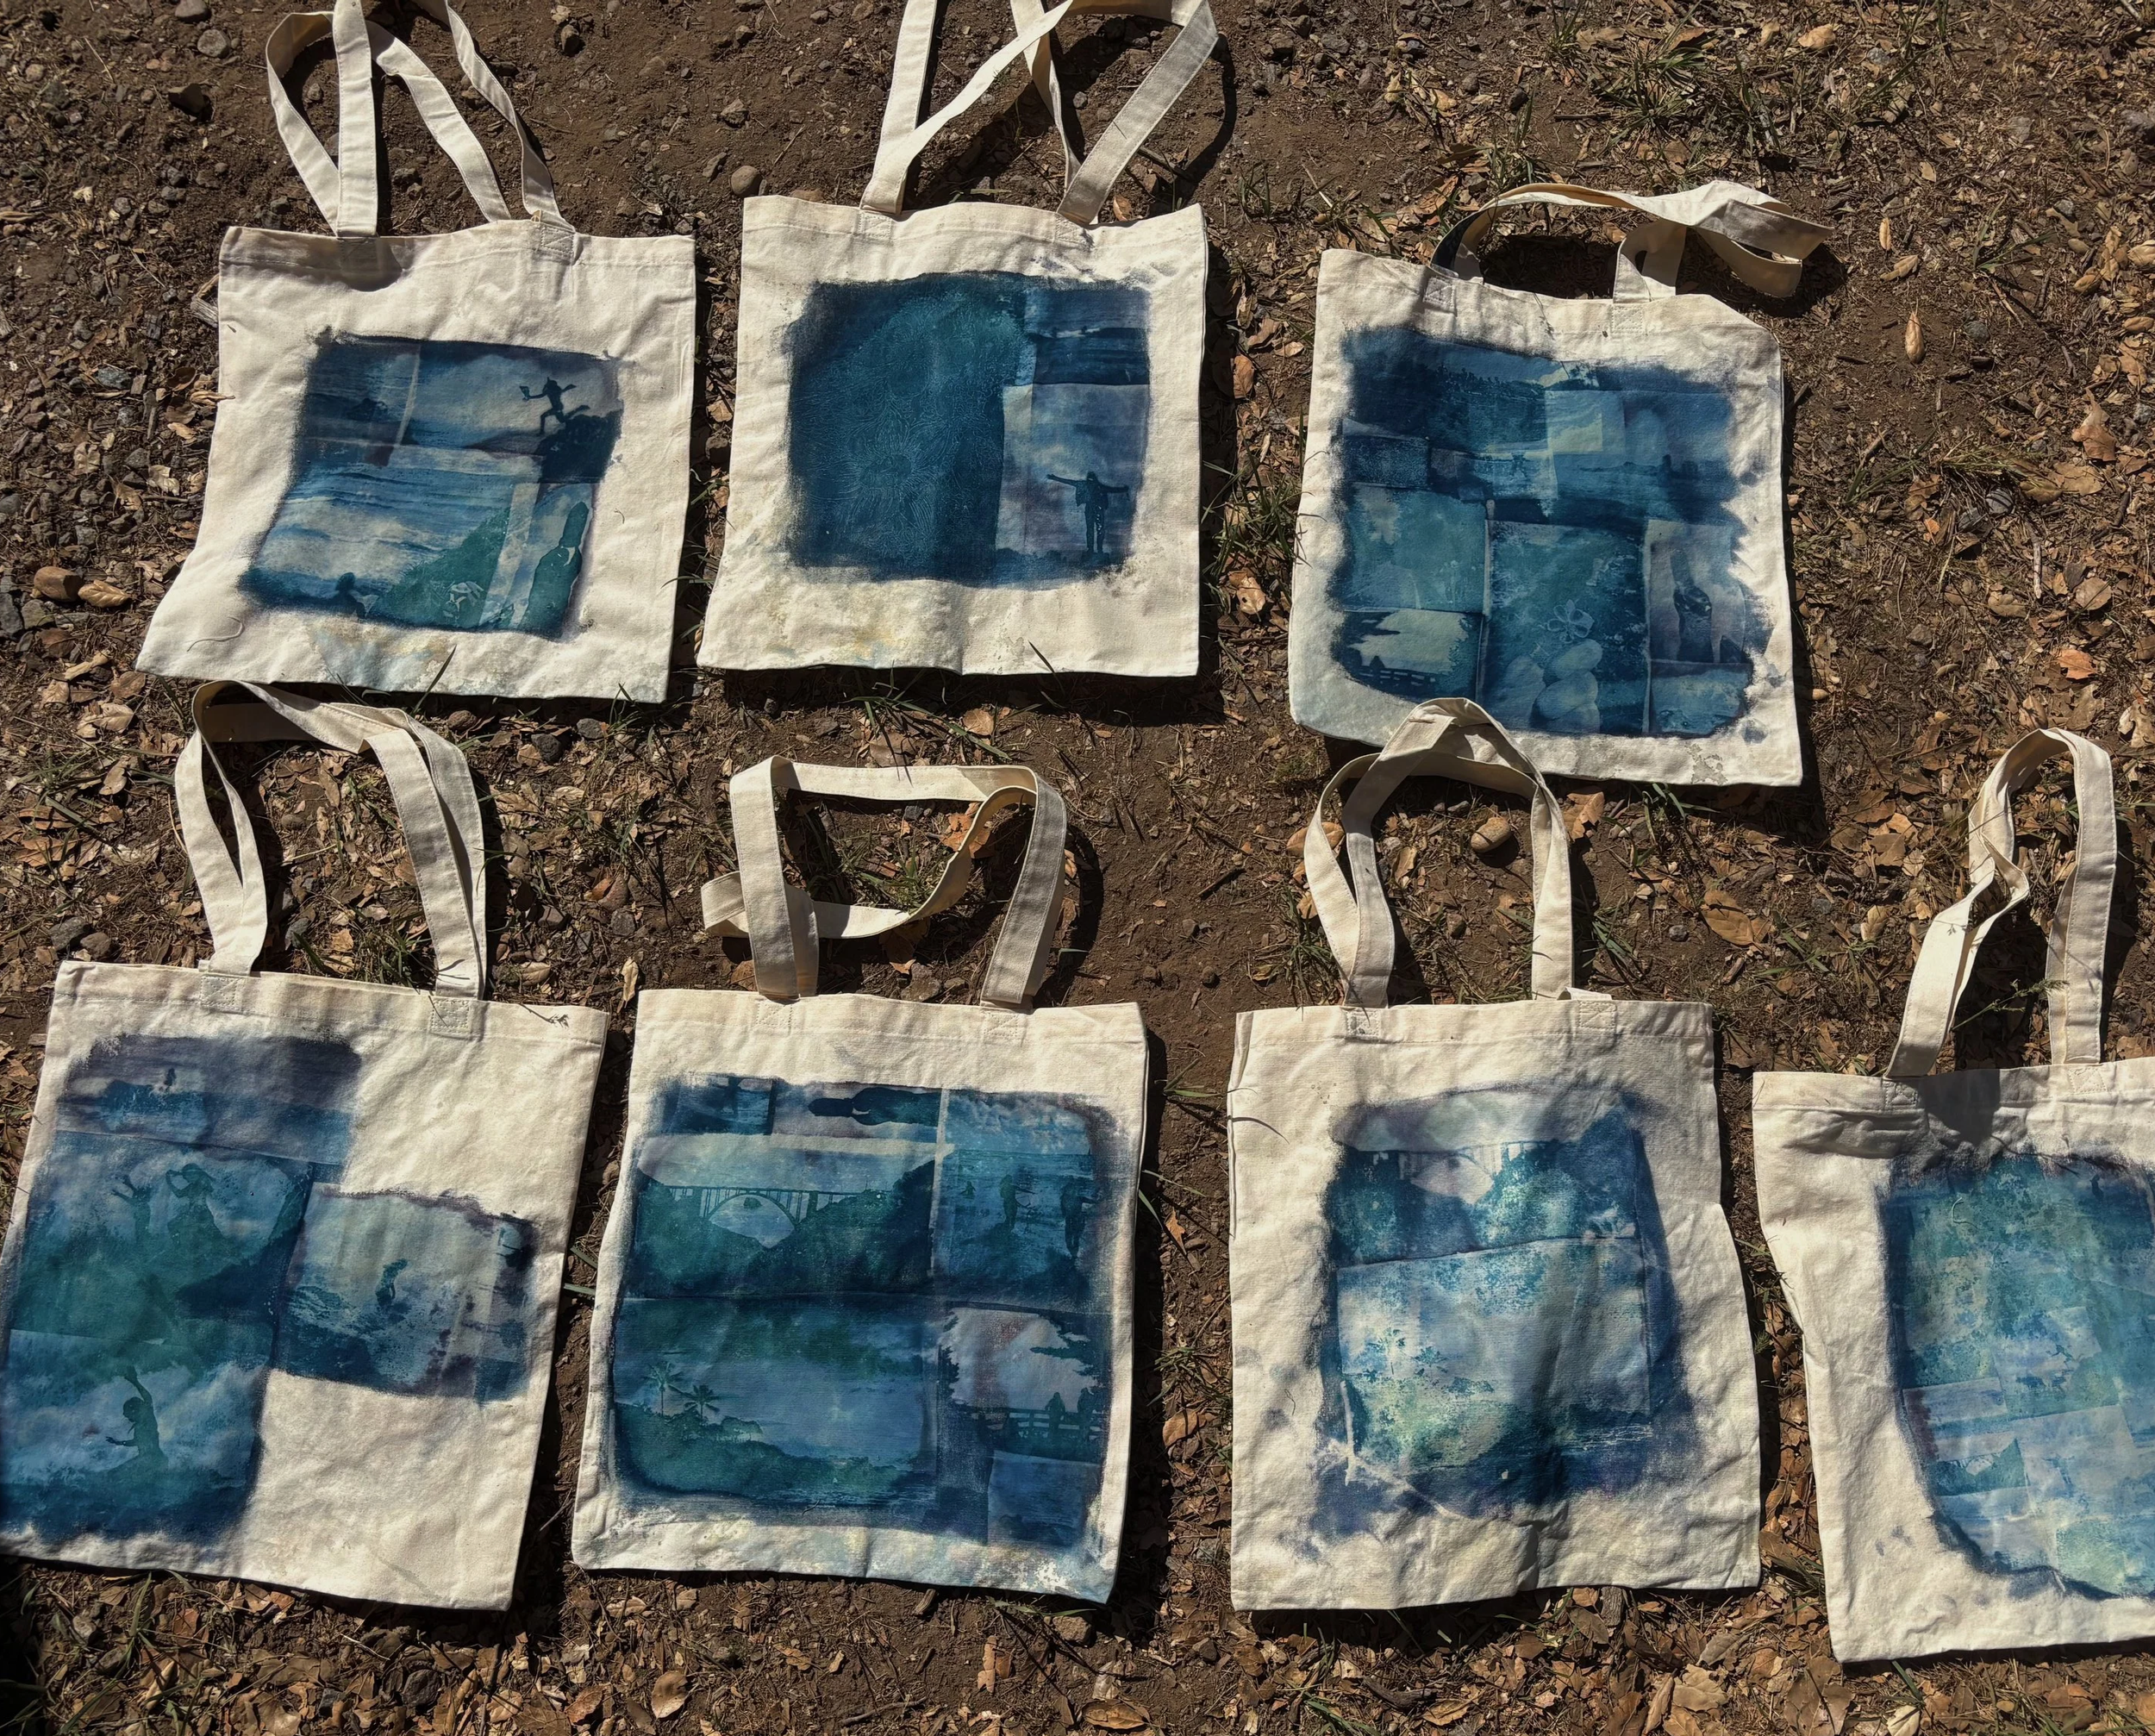
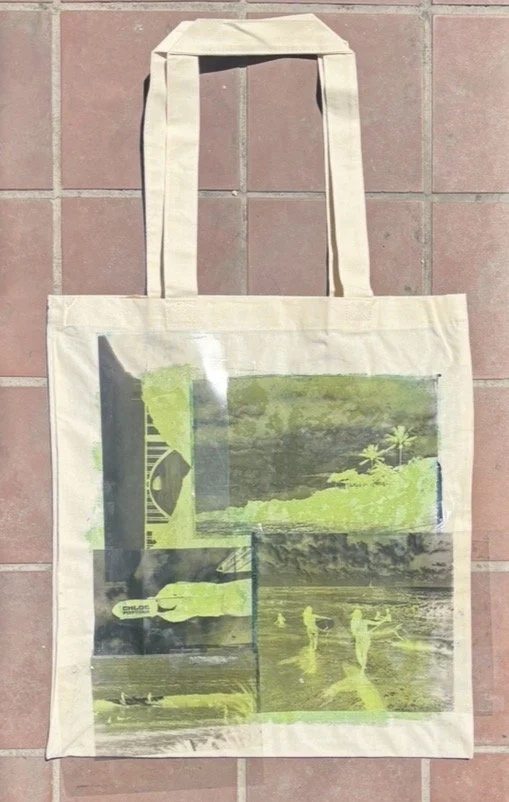
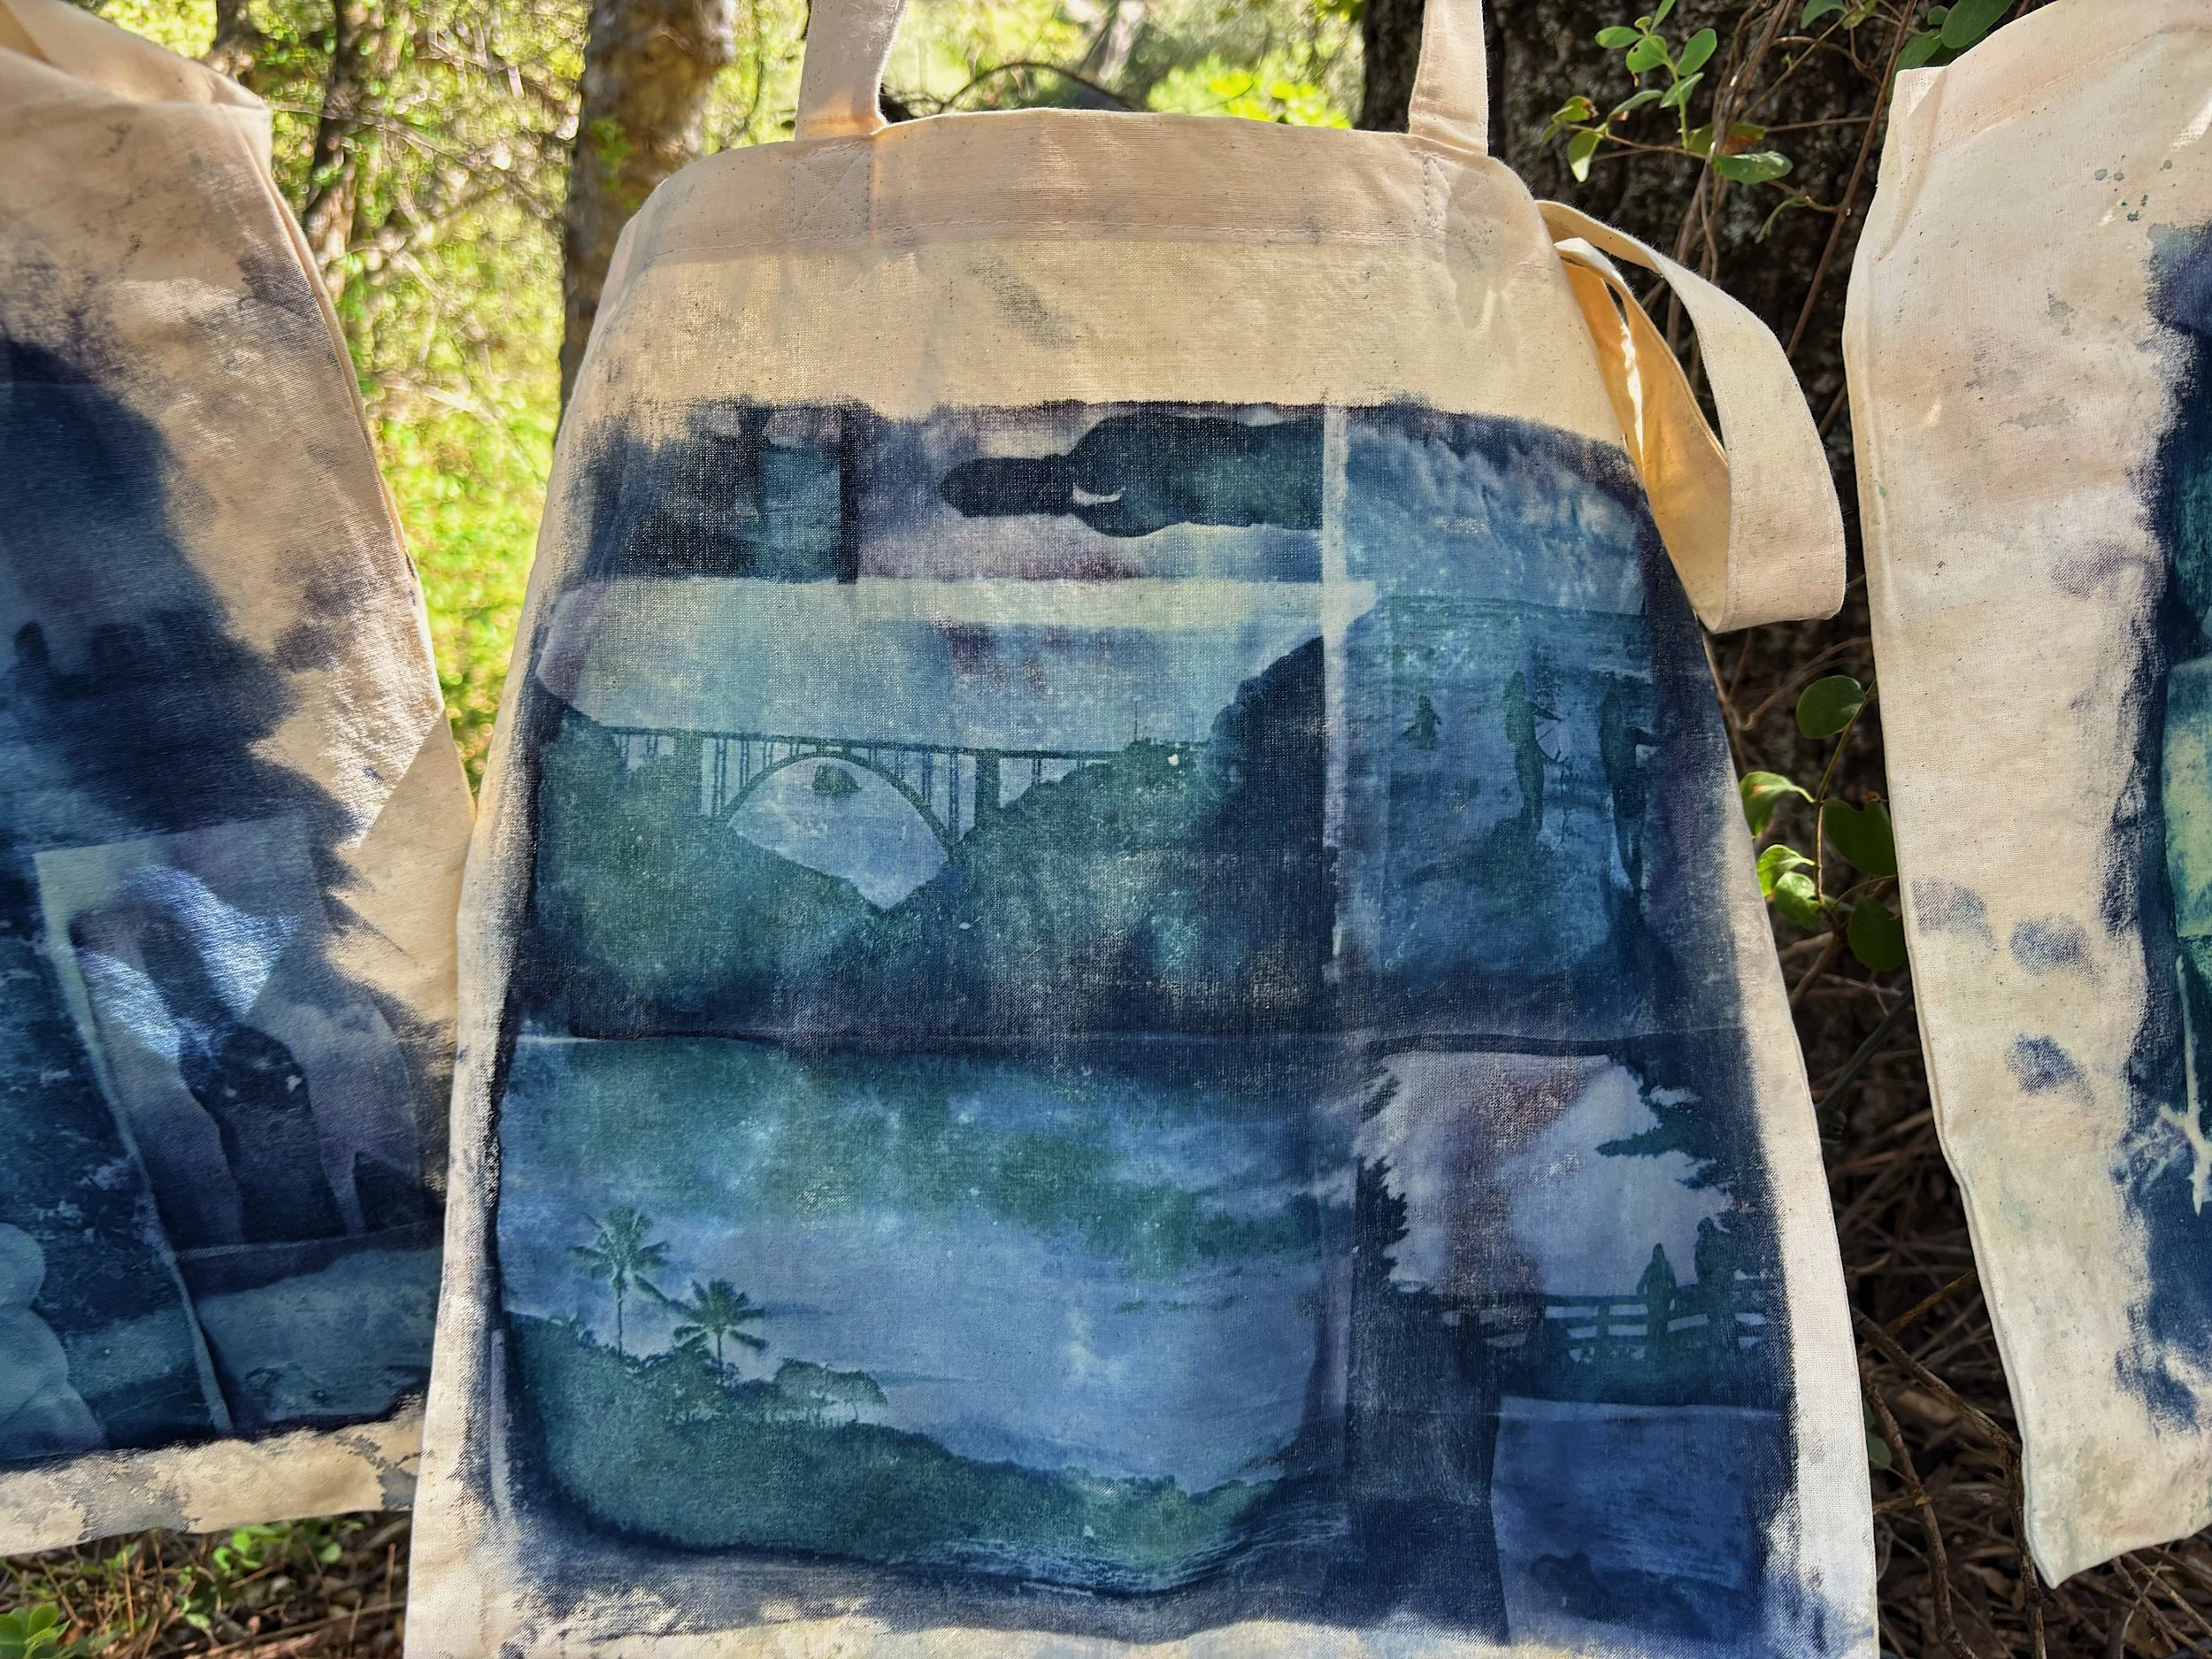
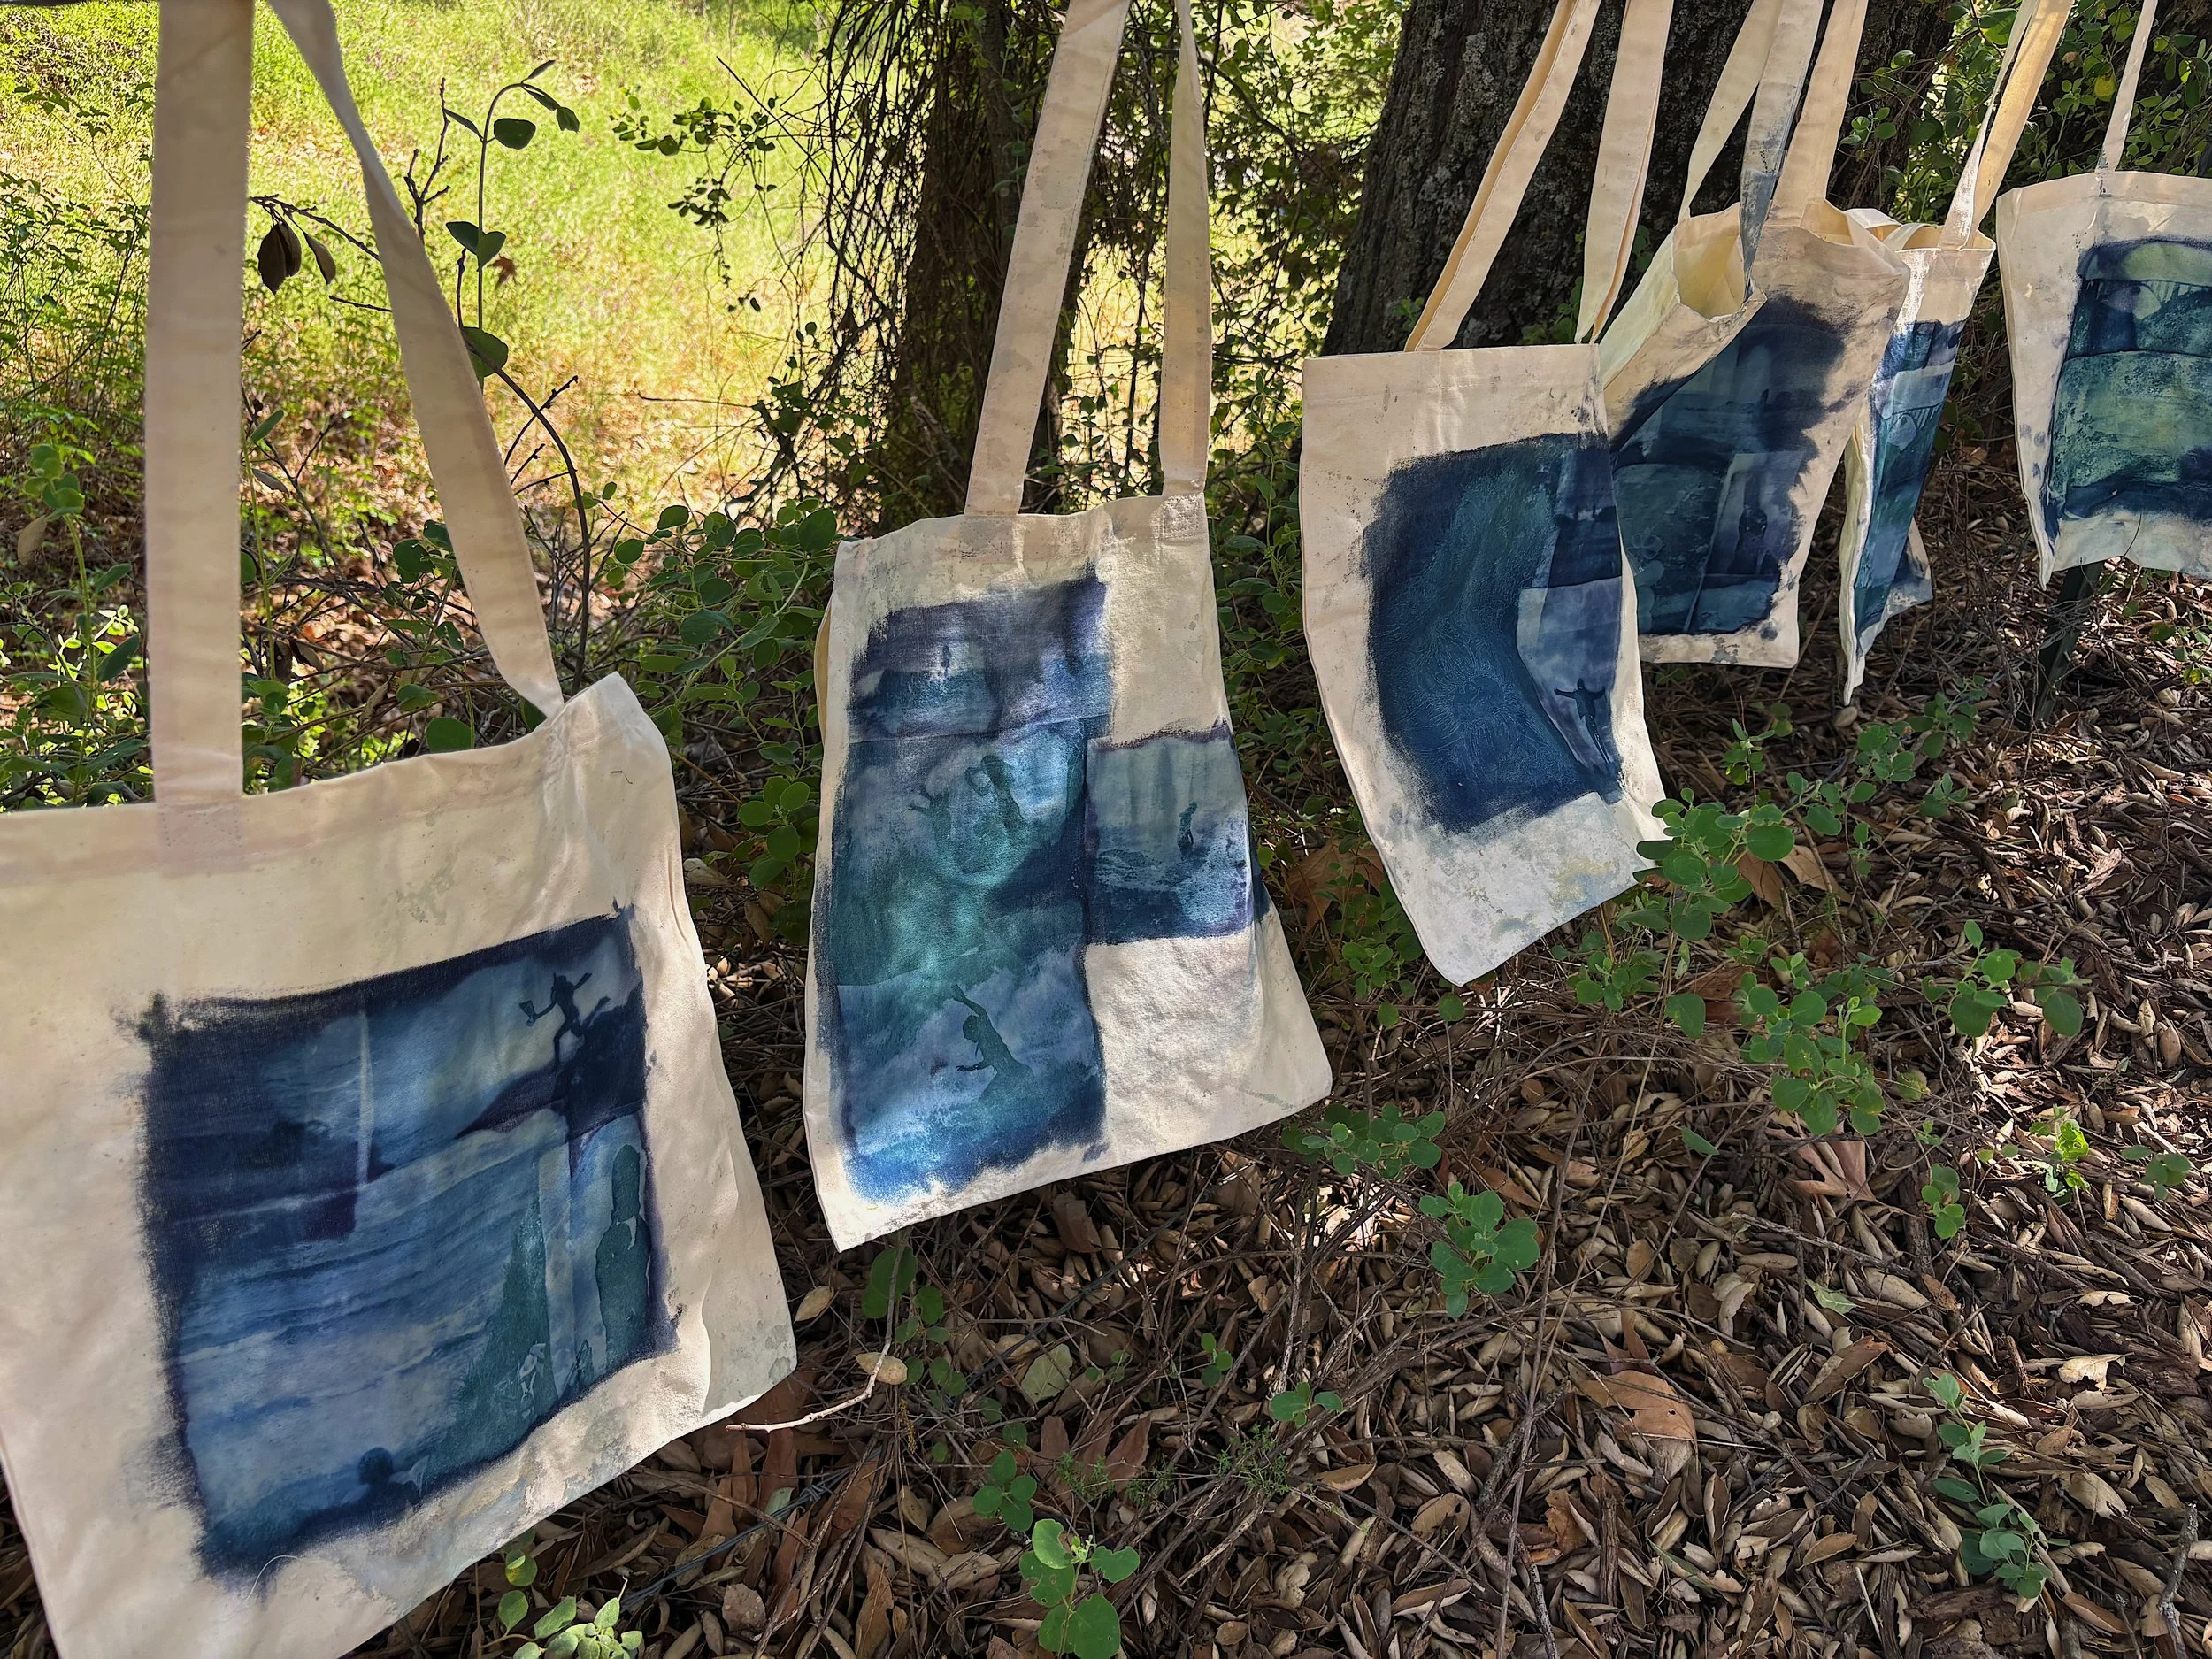
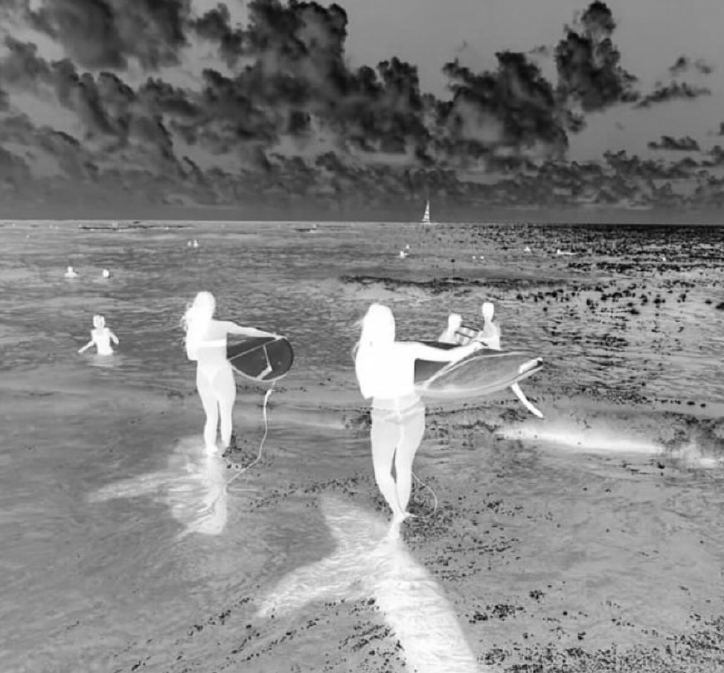
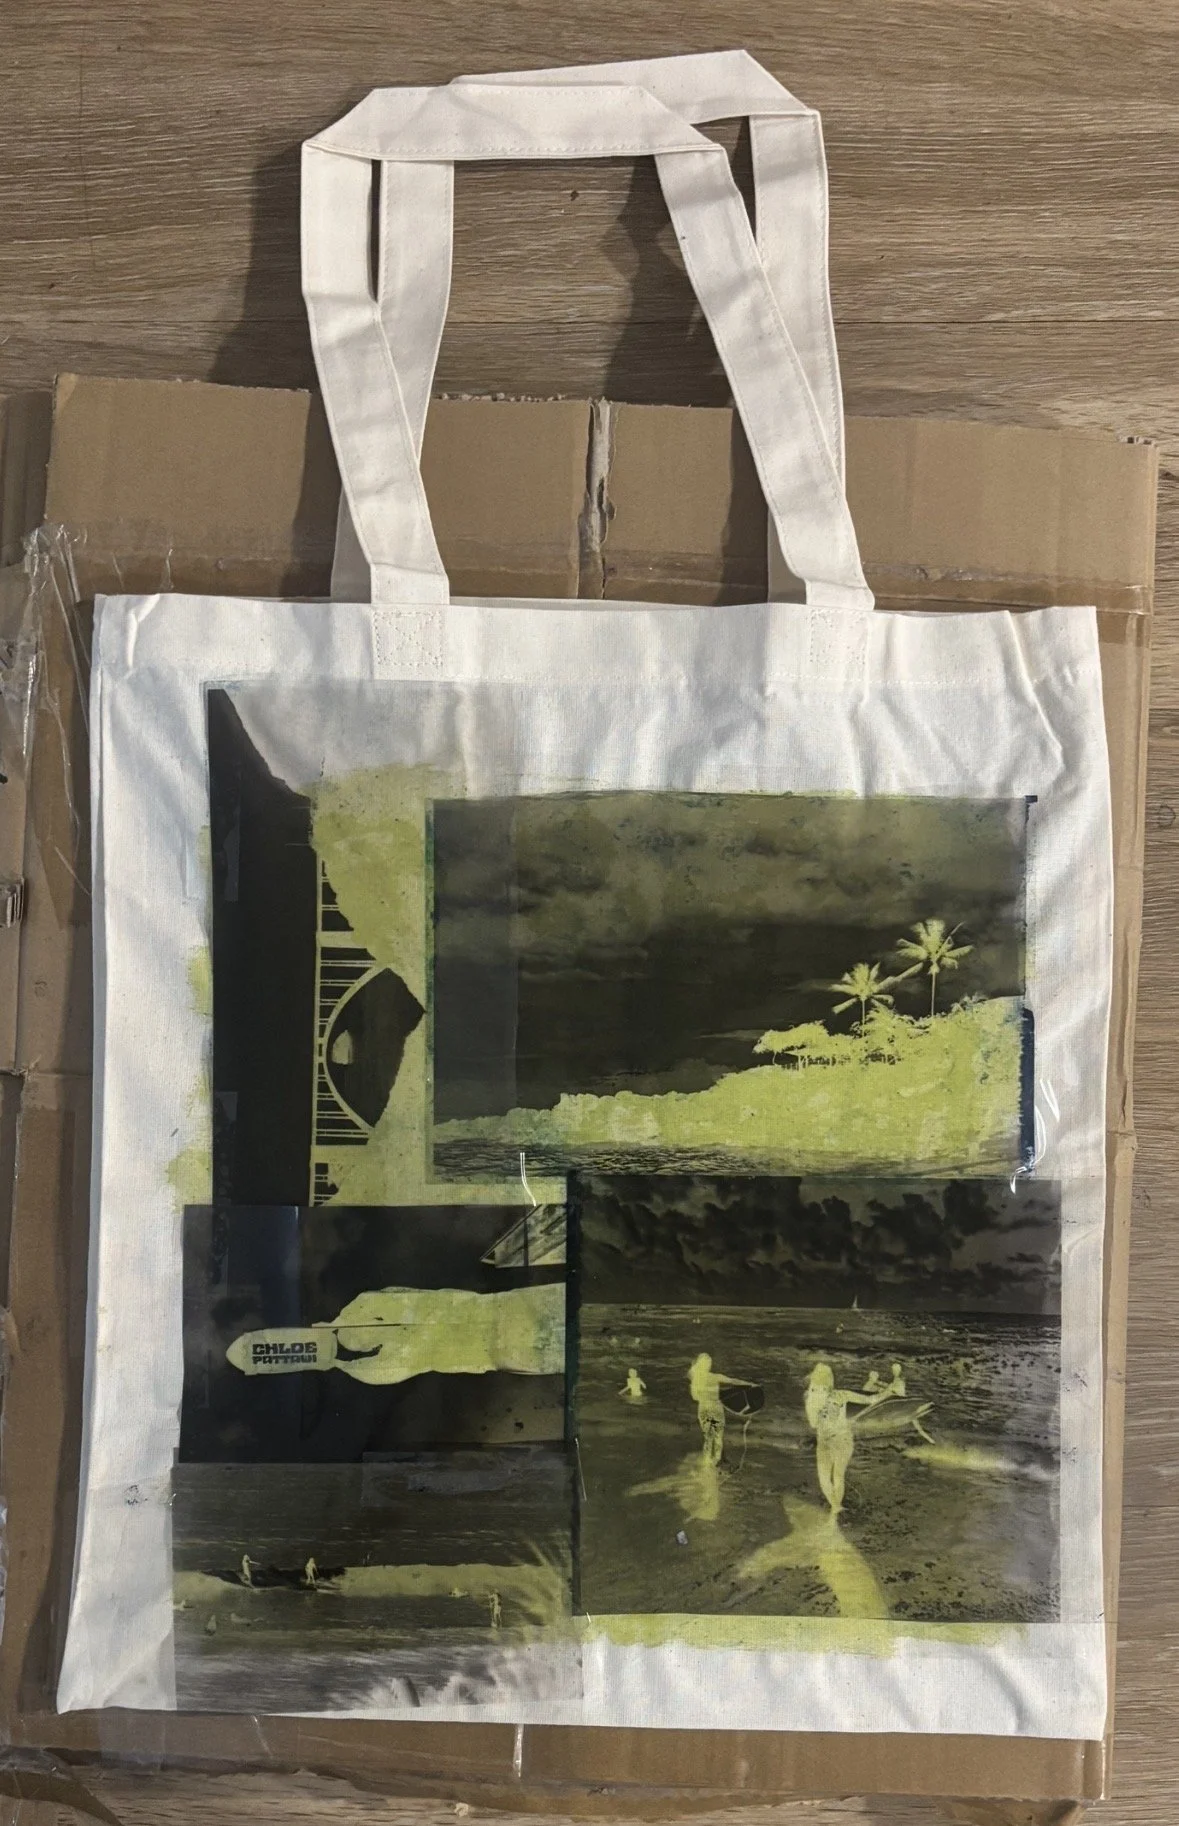
I chose photos I thought would represent my style and personality. I choose photos I have taken, along with photos of myself, to add a more personal aspect to each bag.
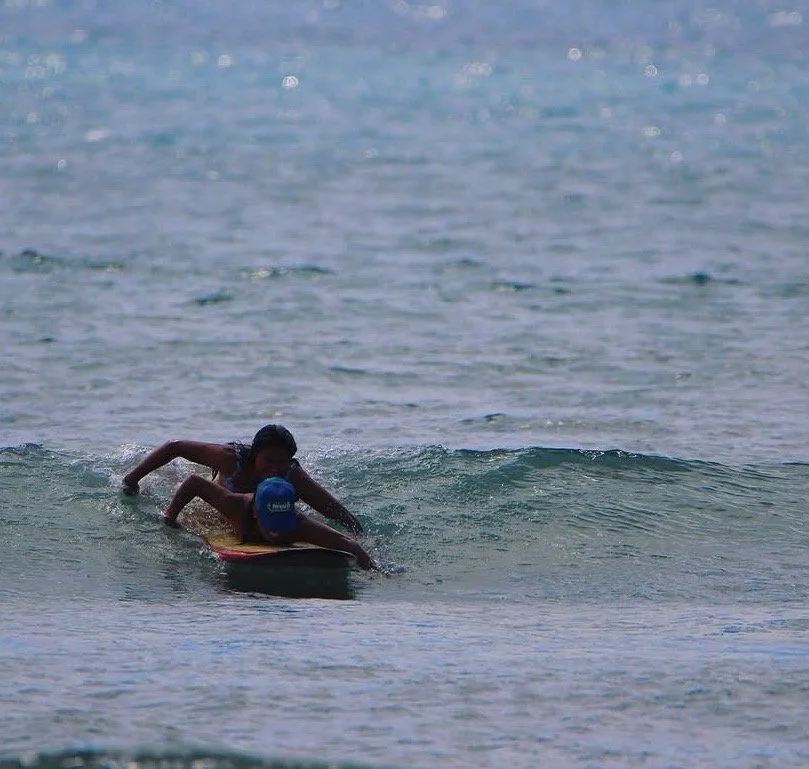
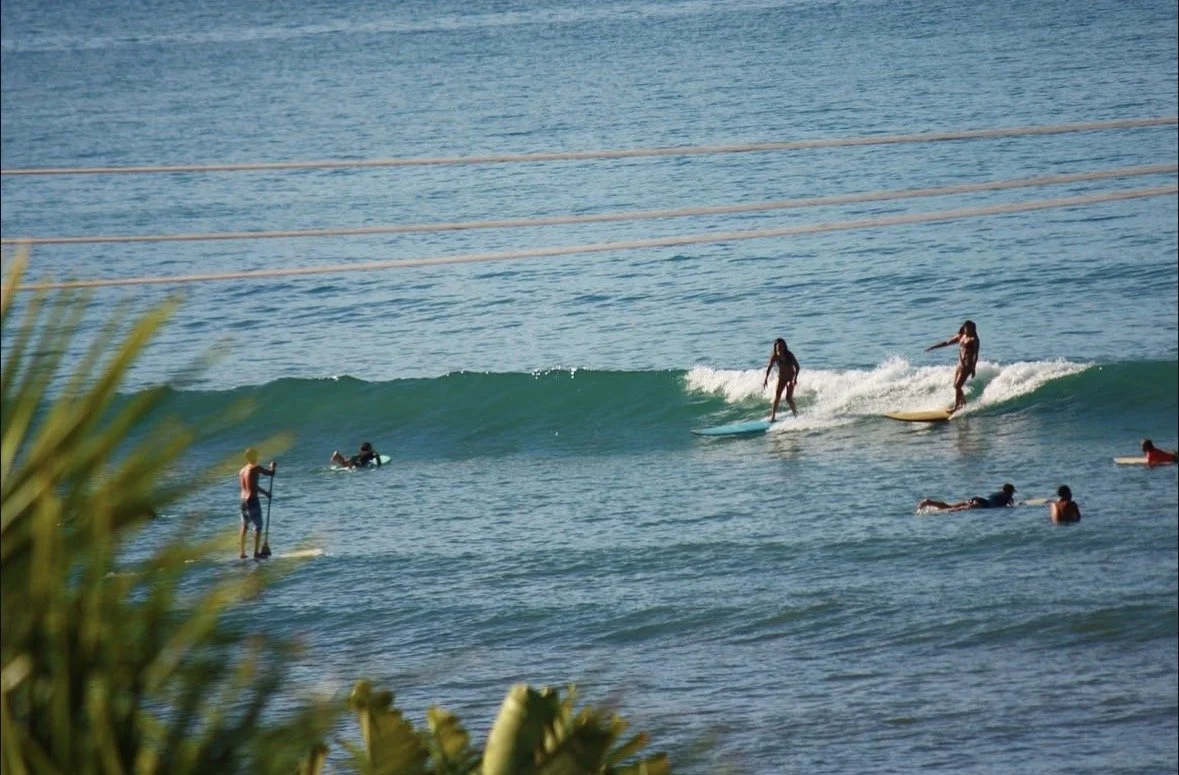
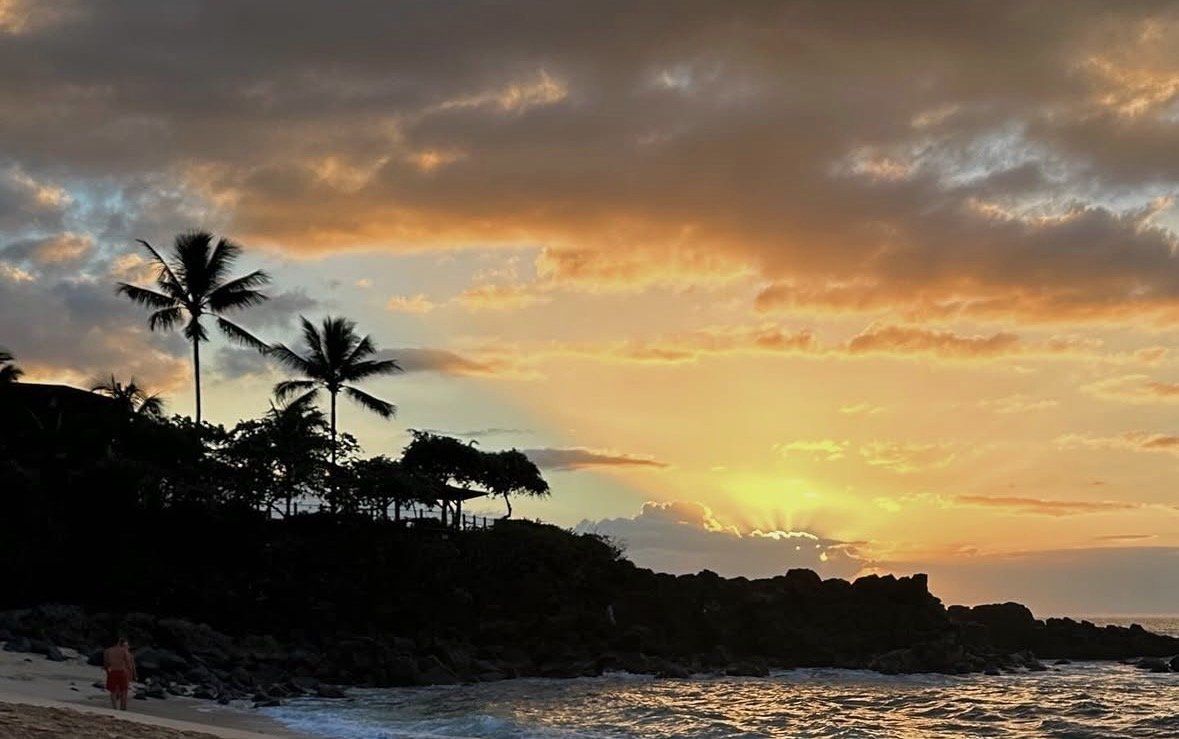
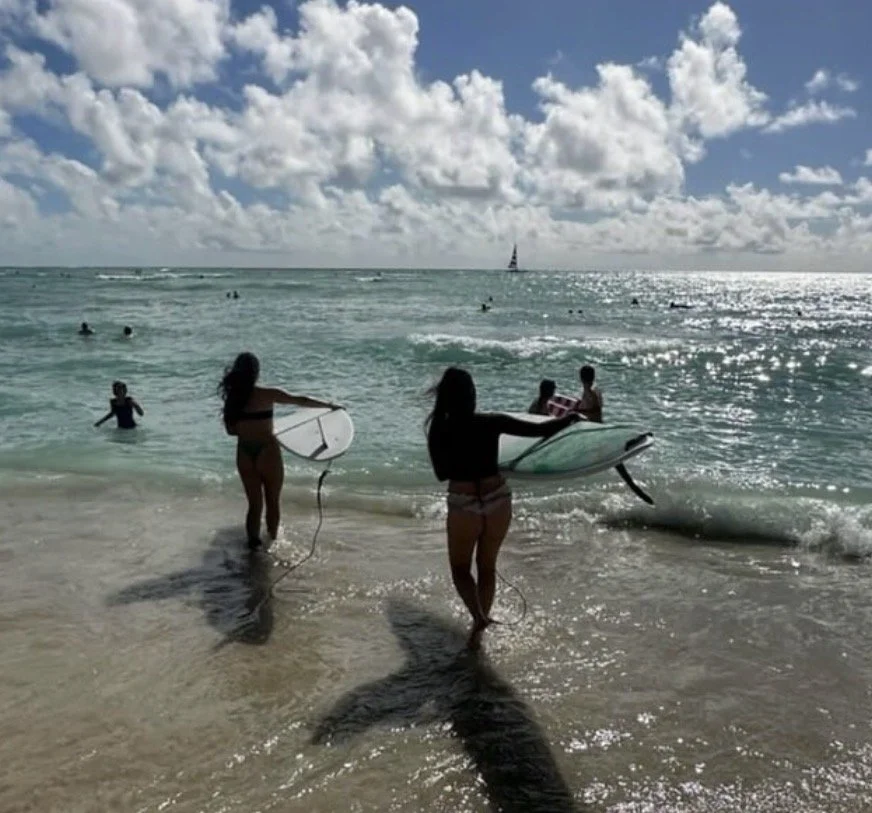
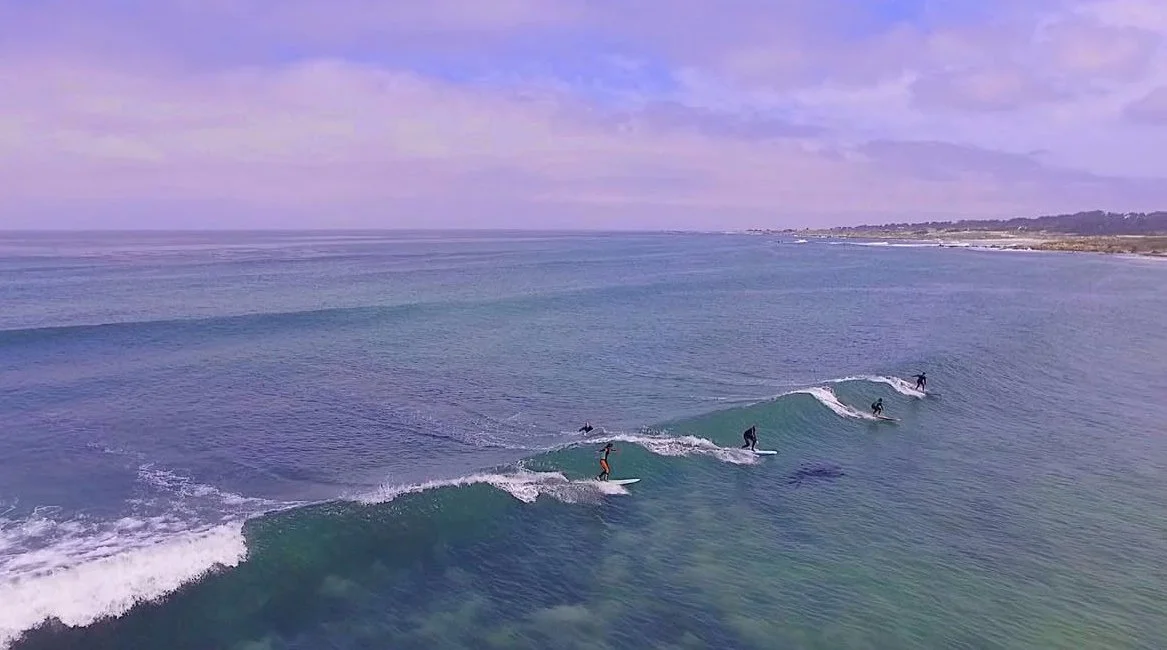
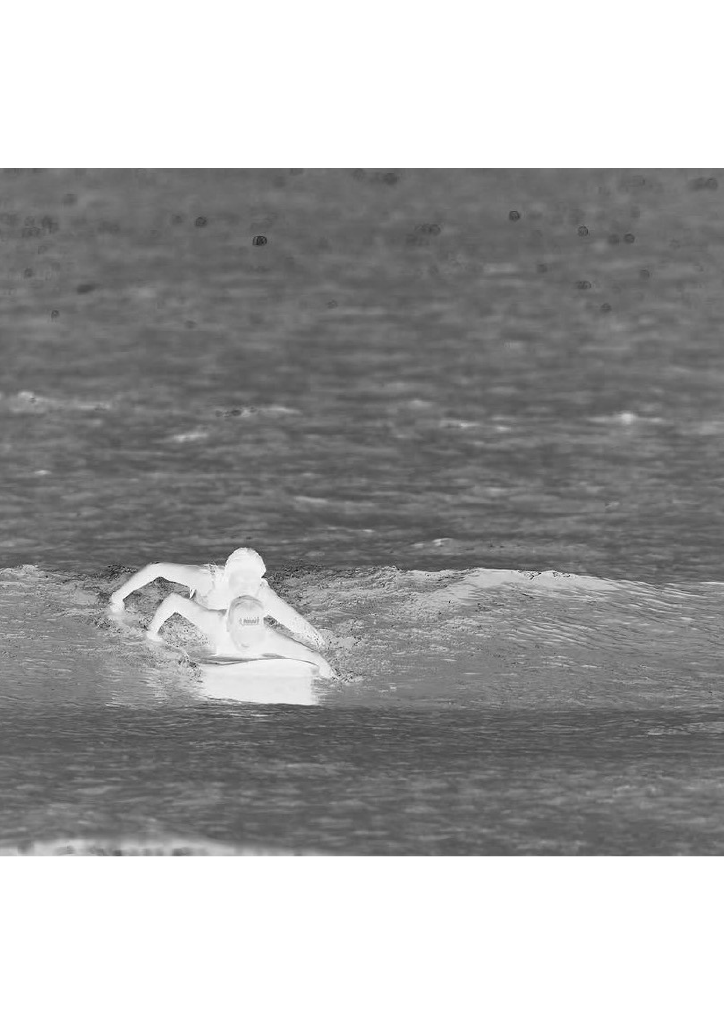
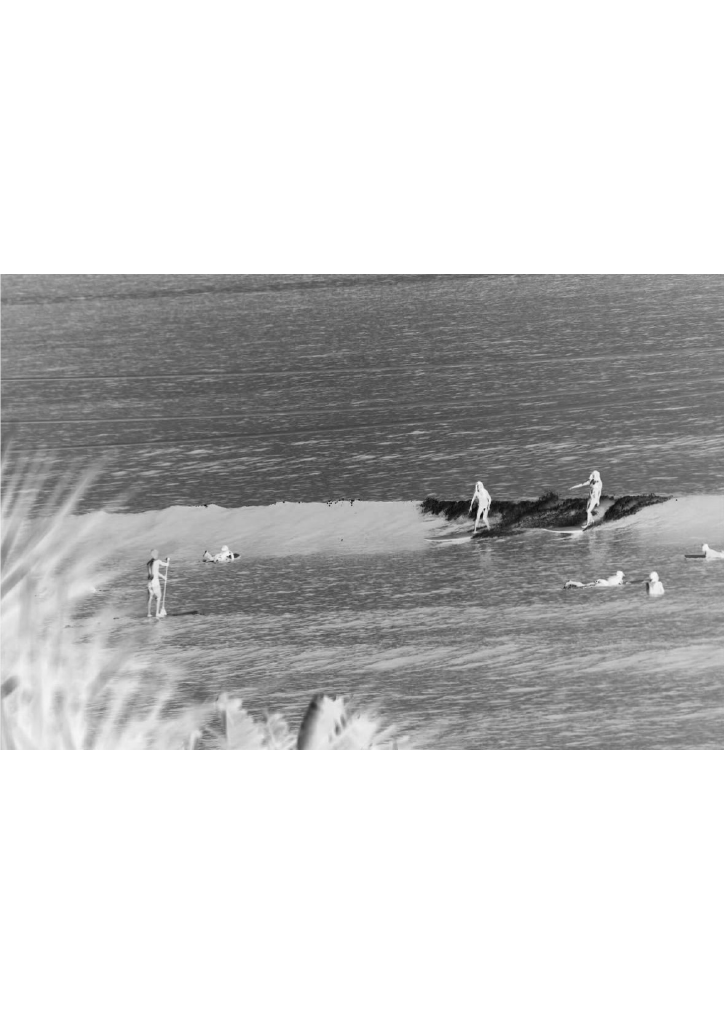
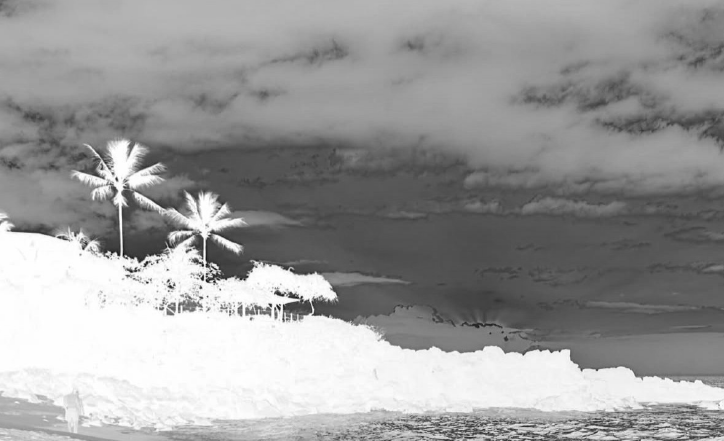
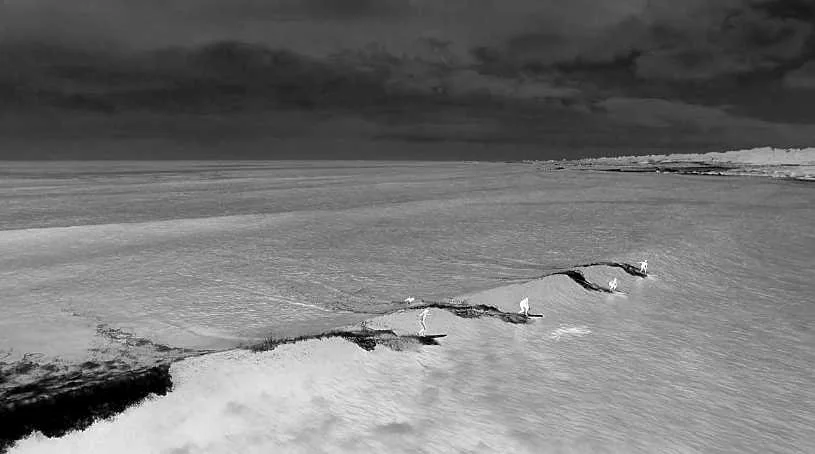
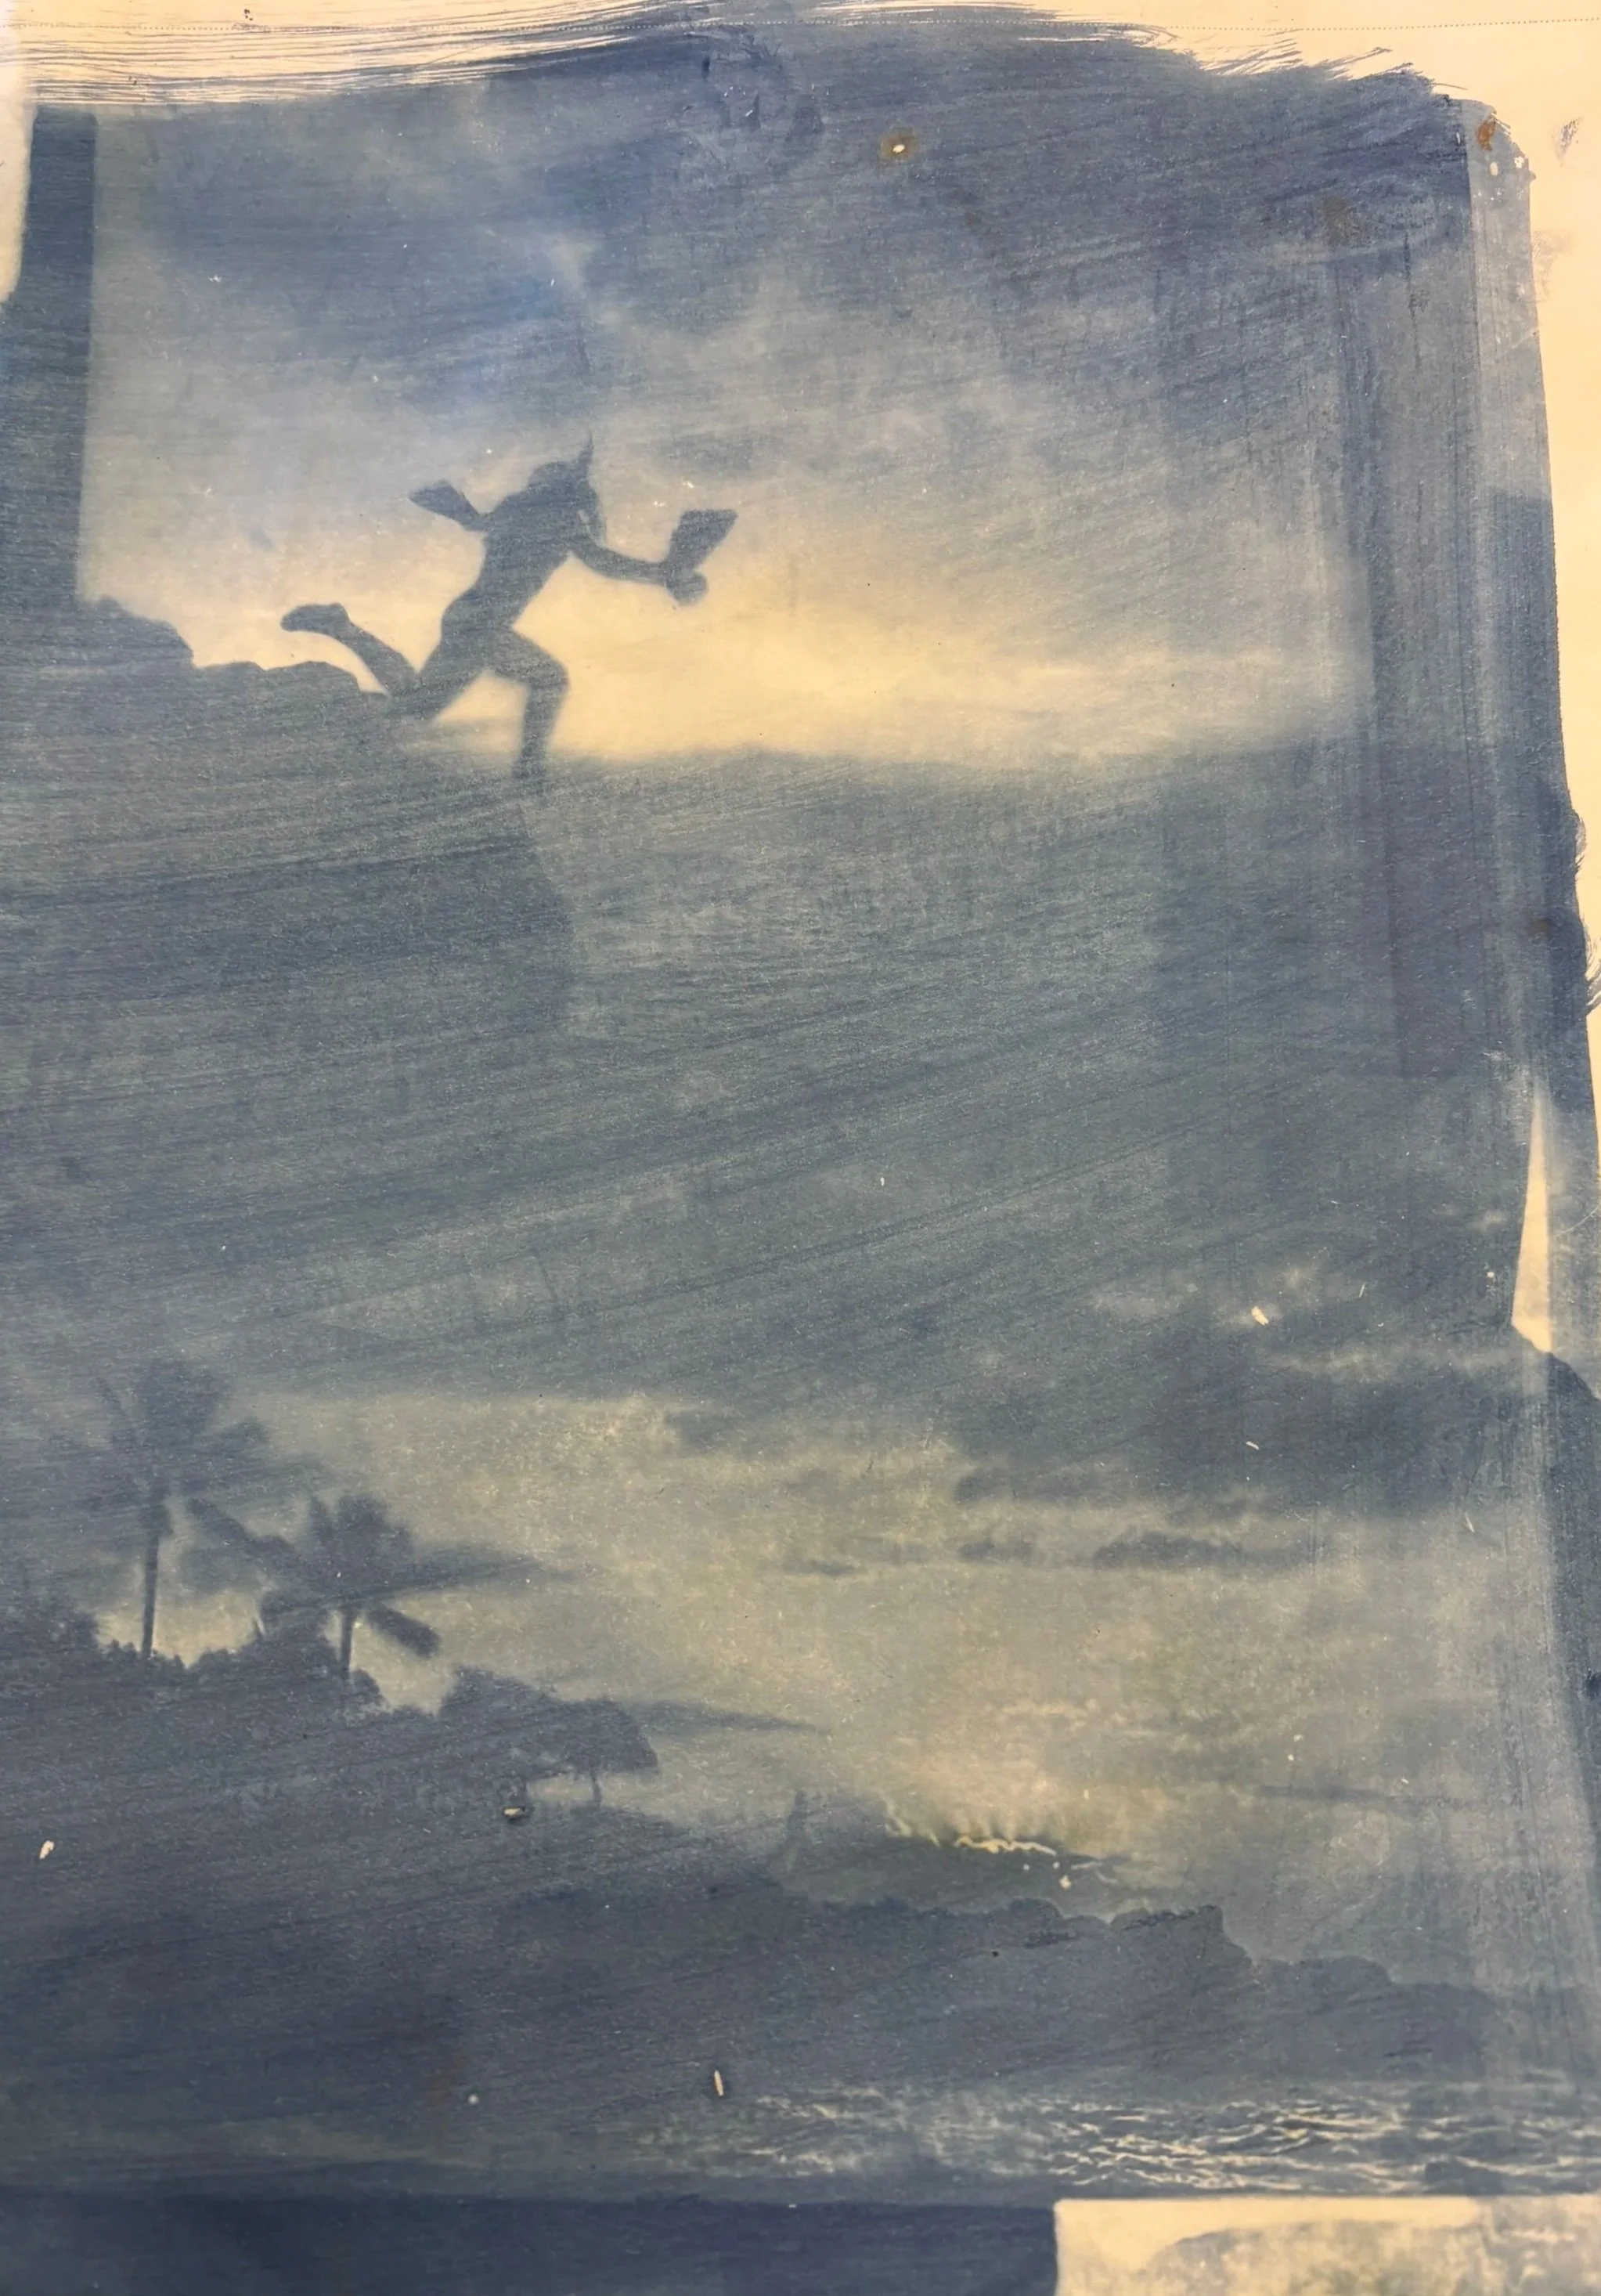
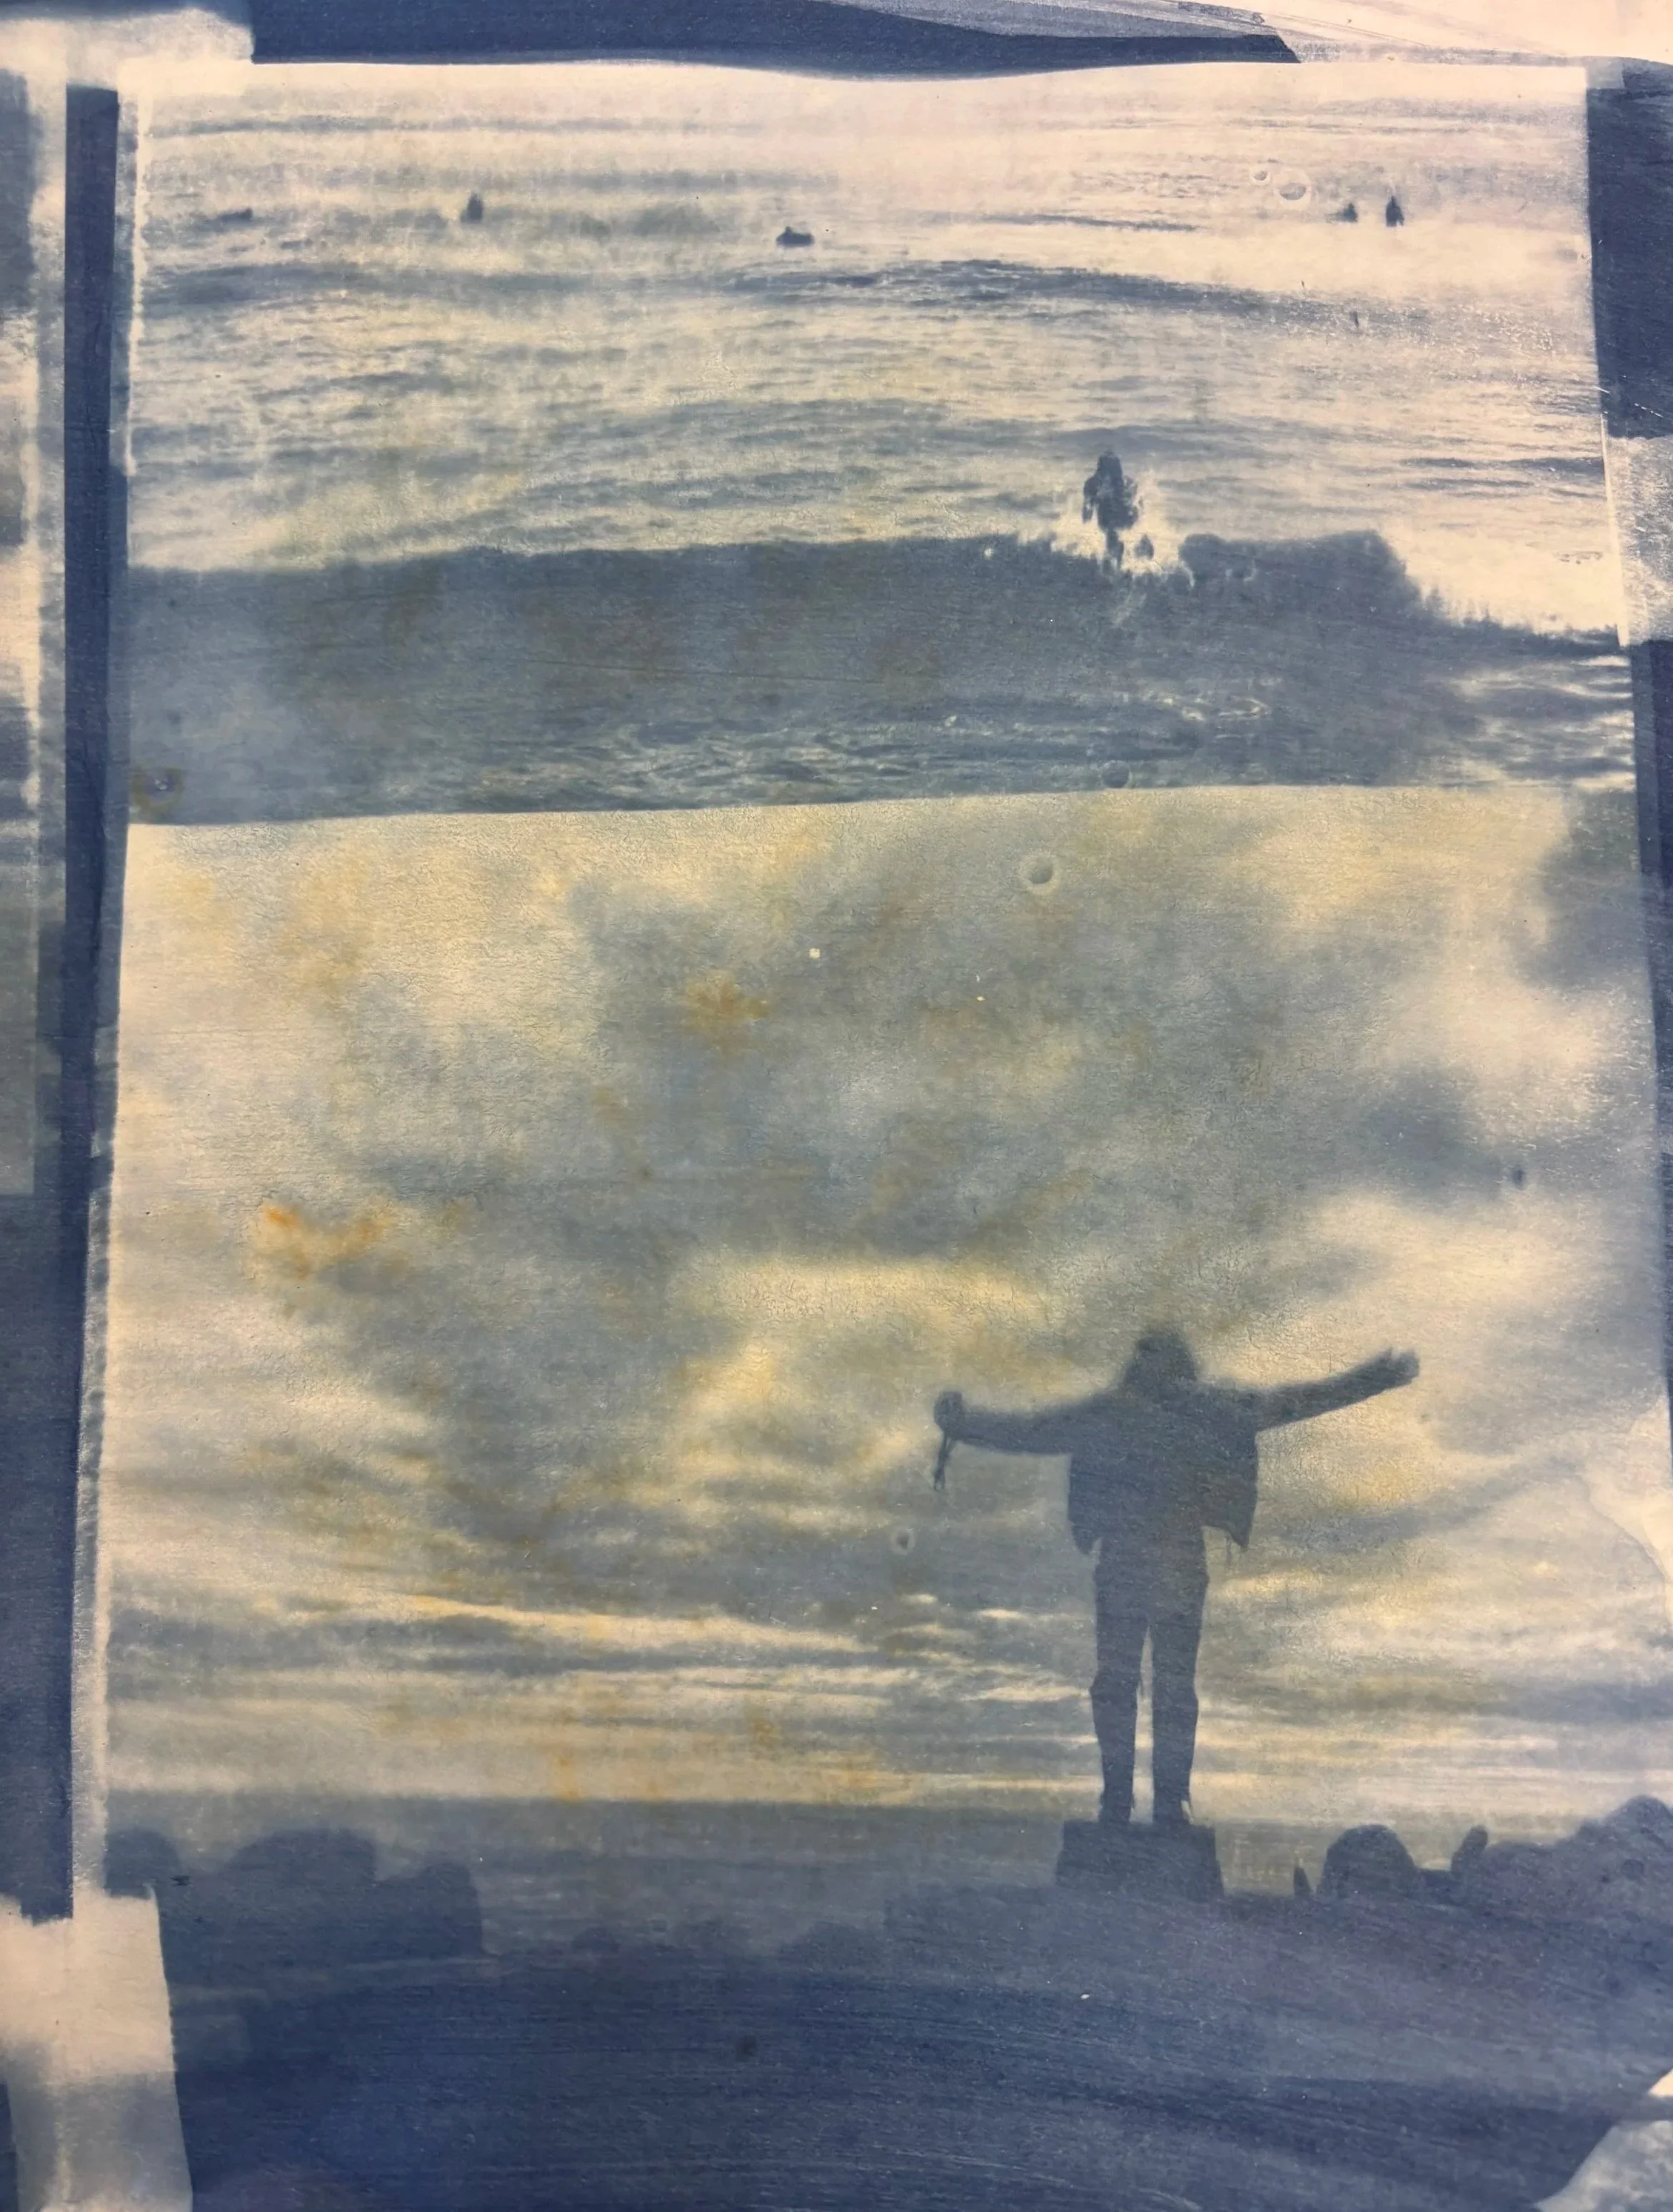
The images I chose all fit into a nature and ocean theme to represent my hometown and how I grew up. Being raised in Monterey and Santa Cruz is something I am extremely grateful for and love to represent in my work

After I chose my photos, I brought them into Photoshop and bumped up the contrast, then inverted them. I then took them to a local printing shop and printed them on clear acetate sheets.
I printed my photos in various sizes so I could cut each one out and be able to create a new, unique collage on each tote.
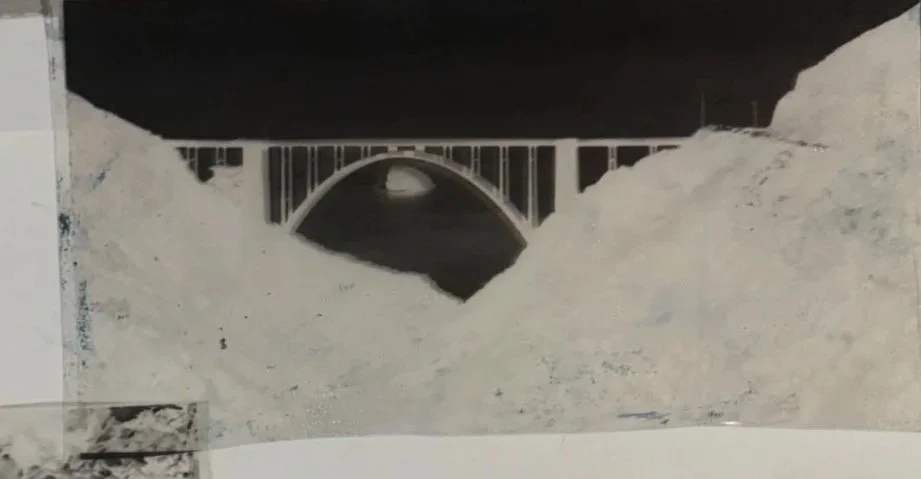
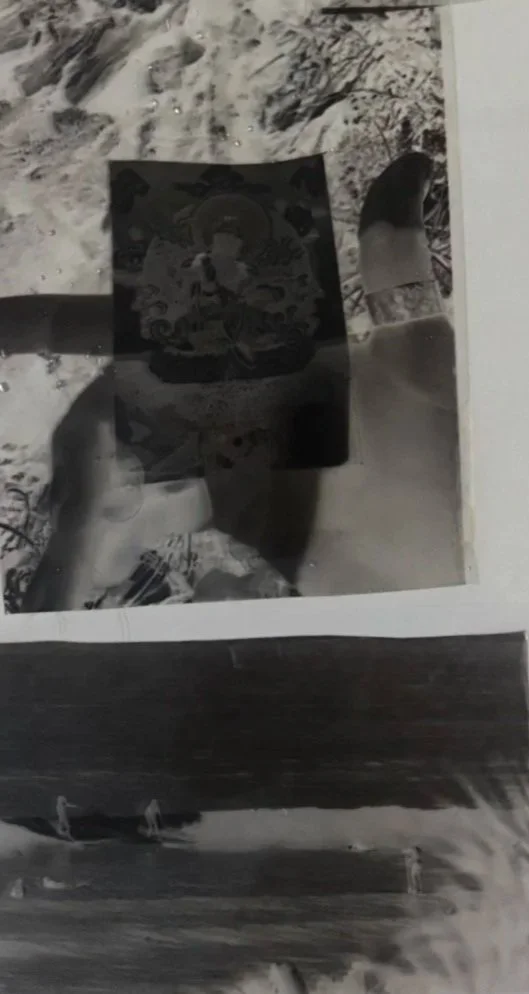
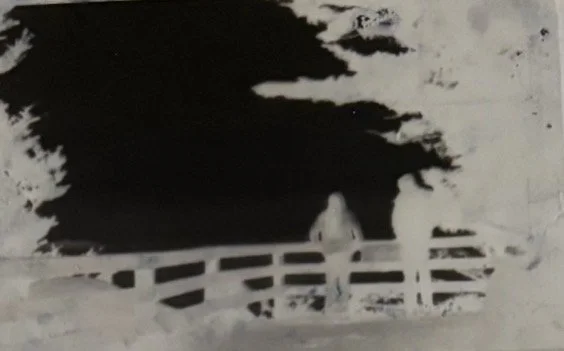
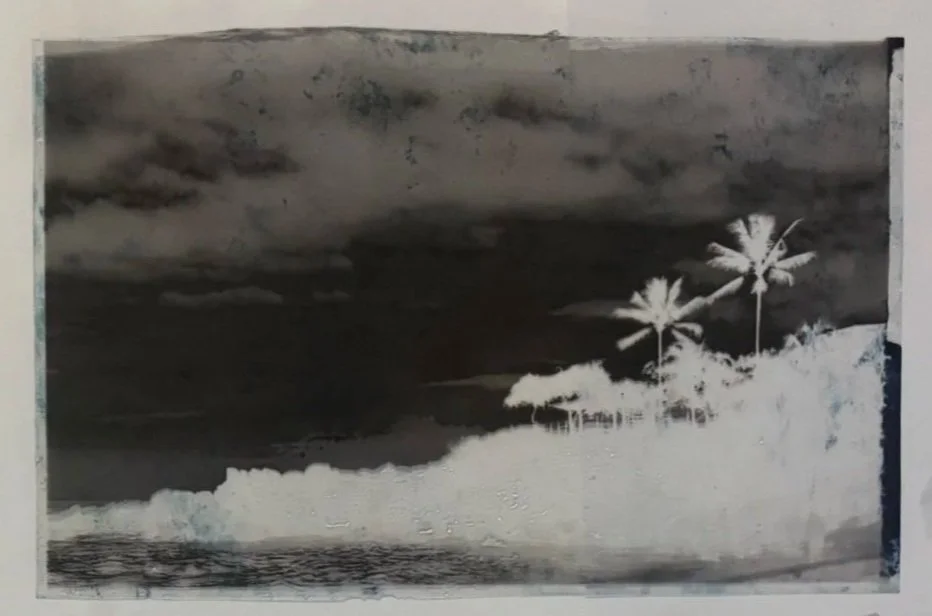
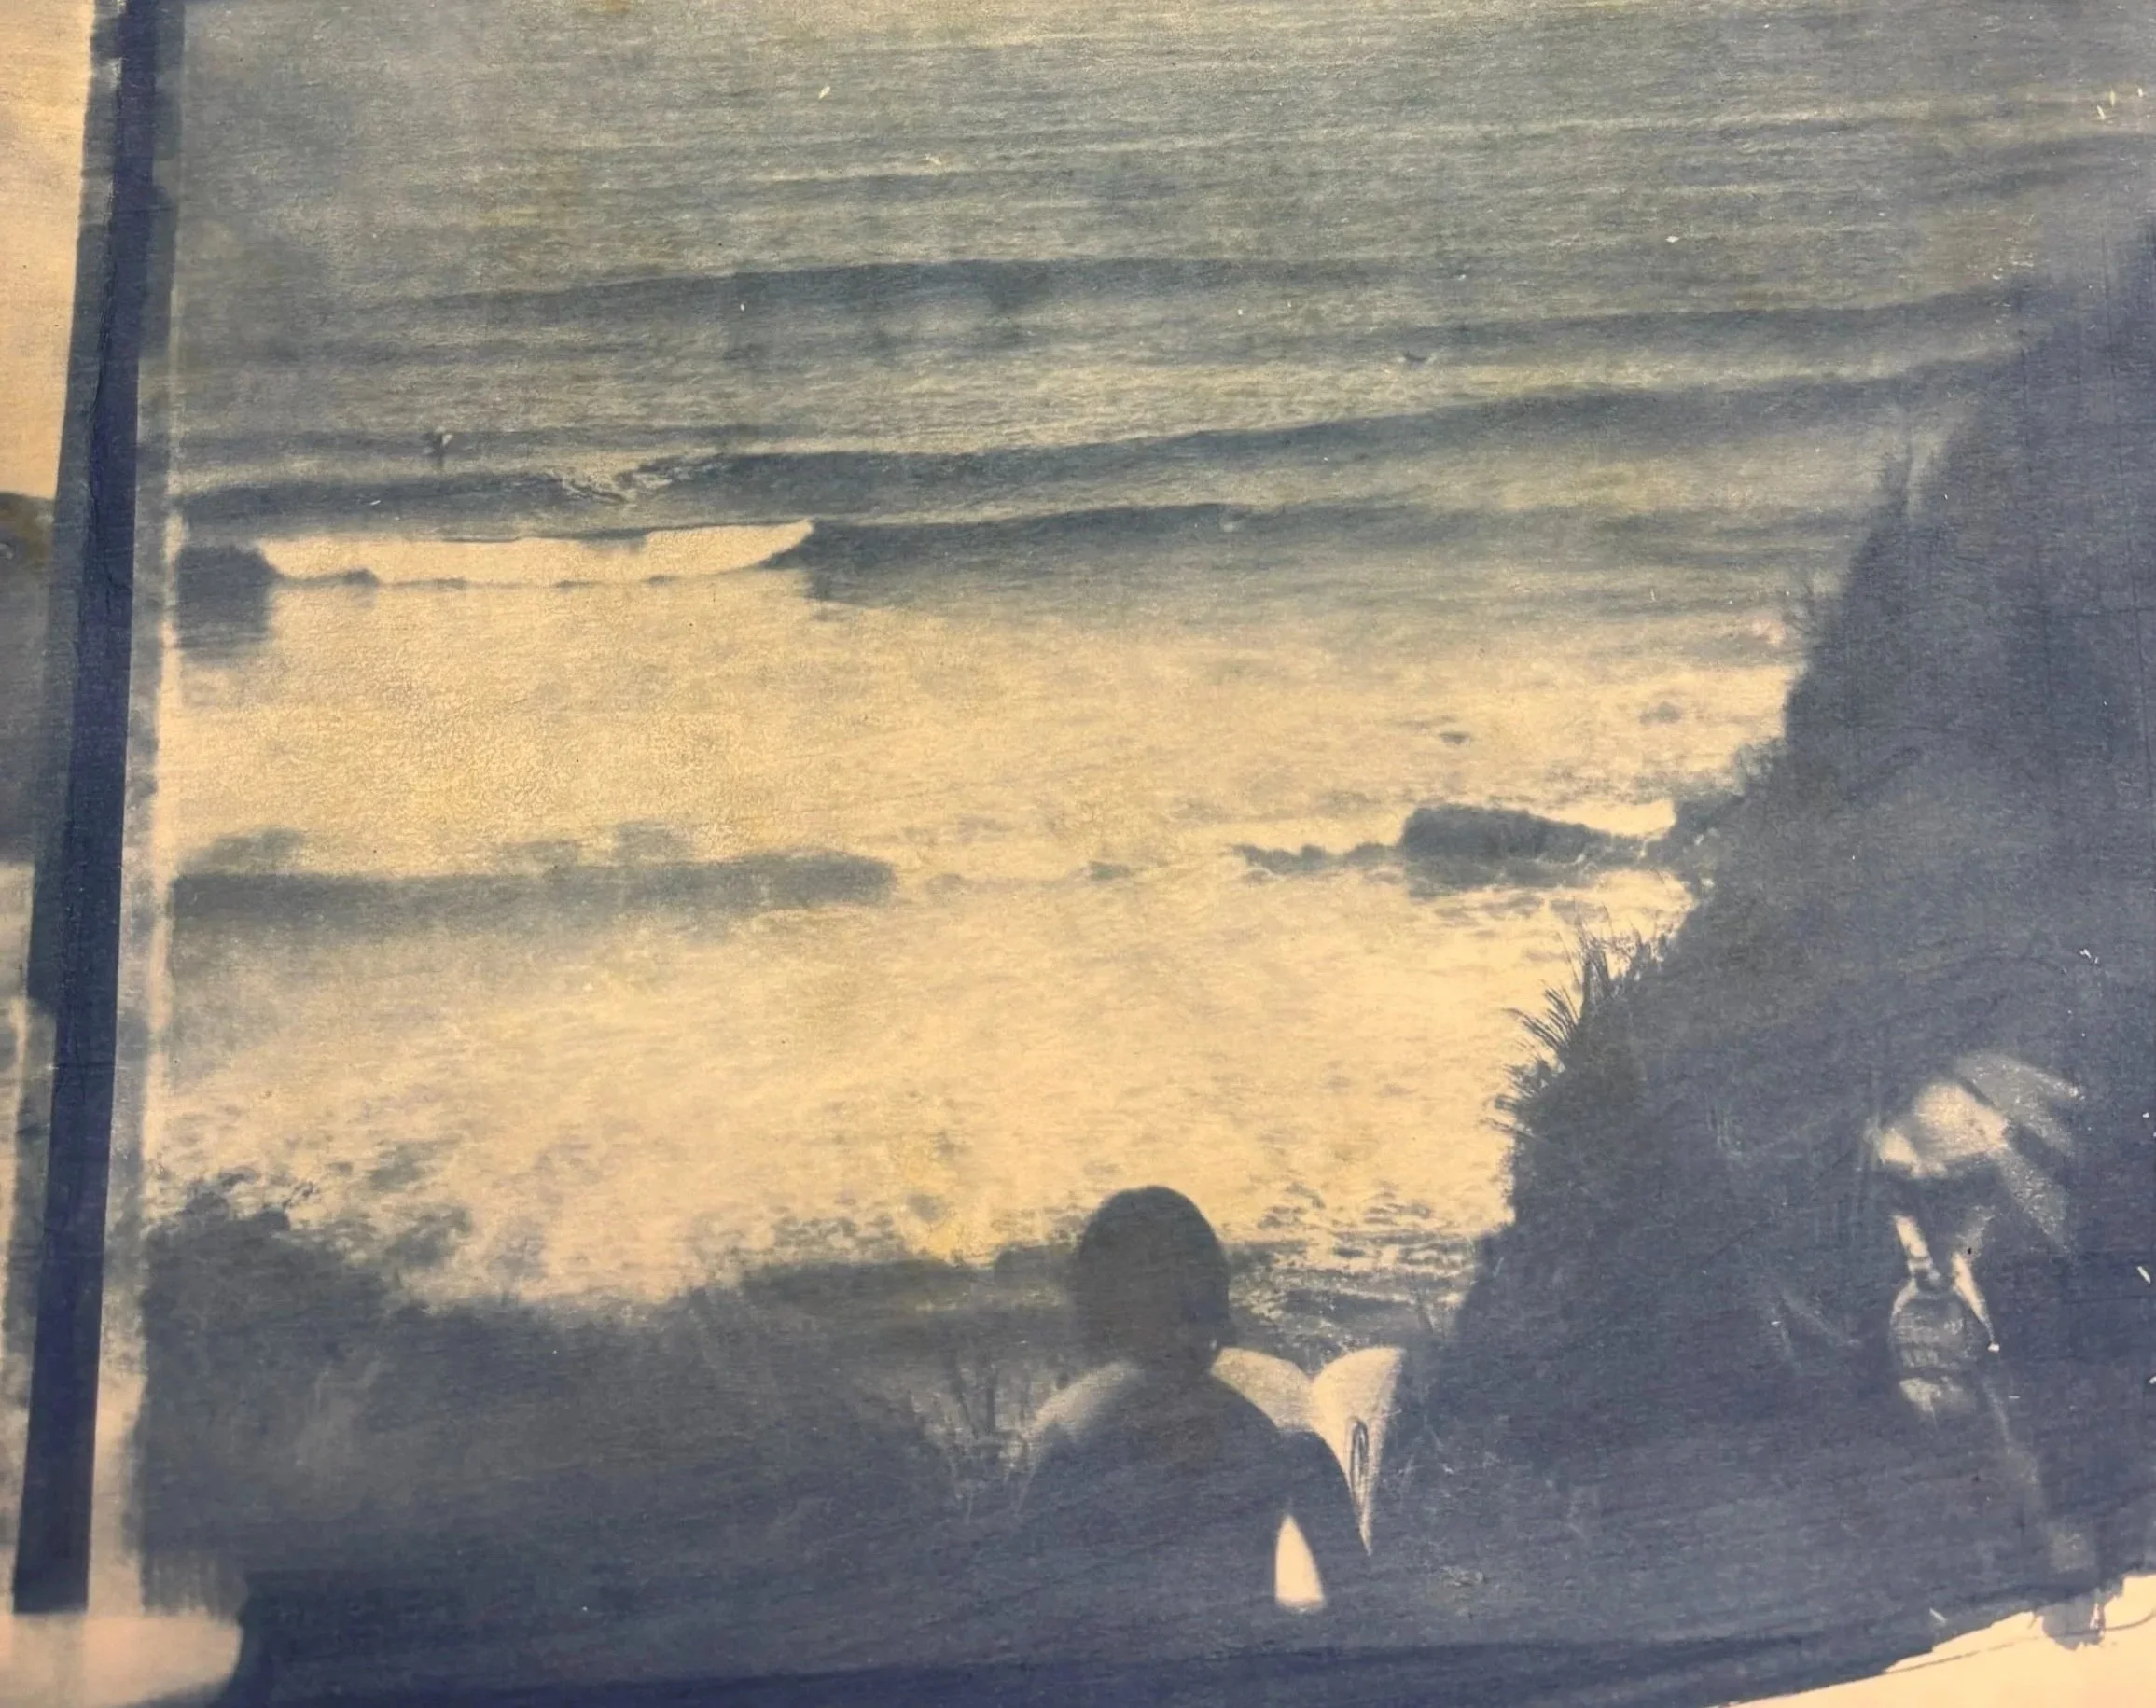
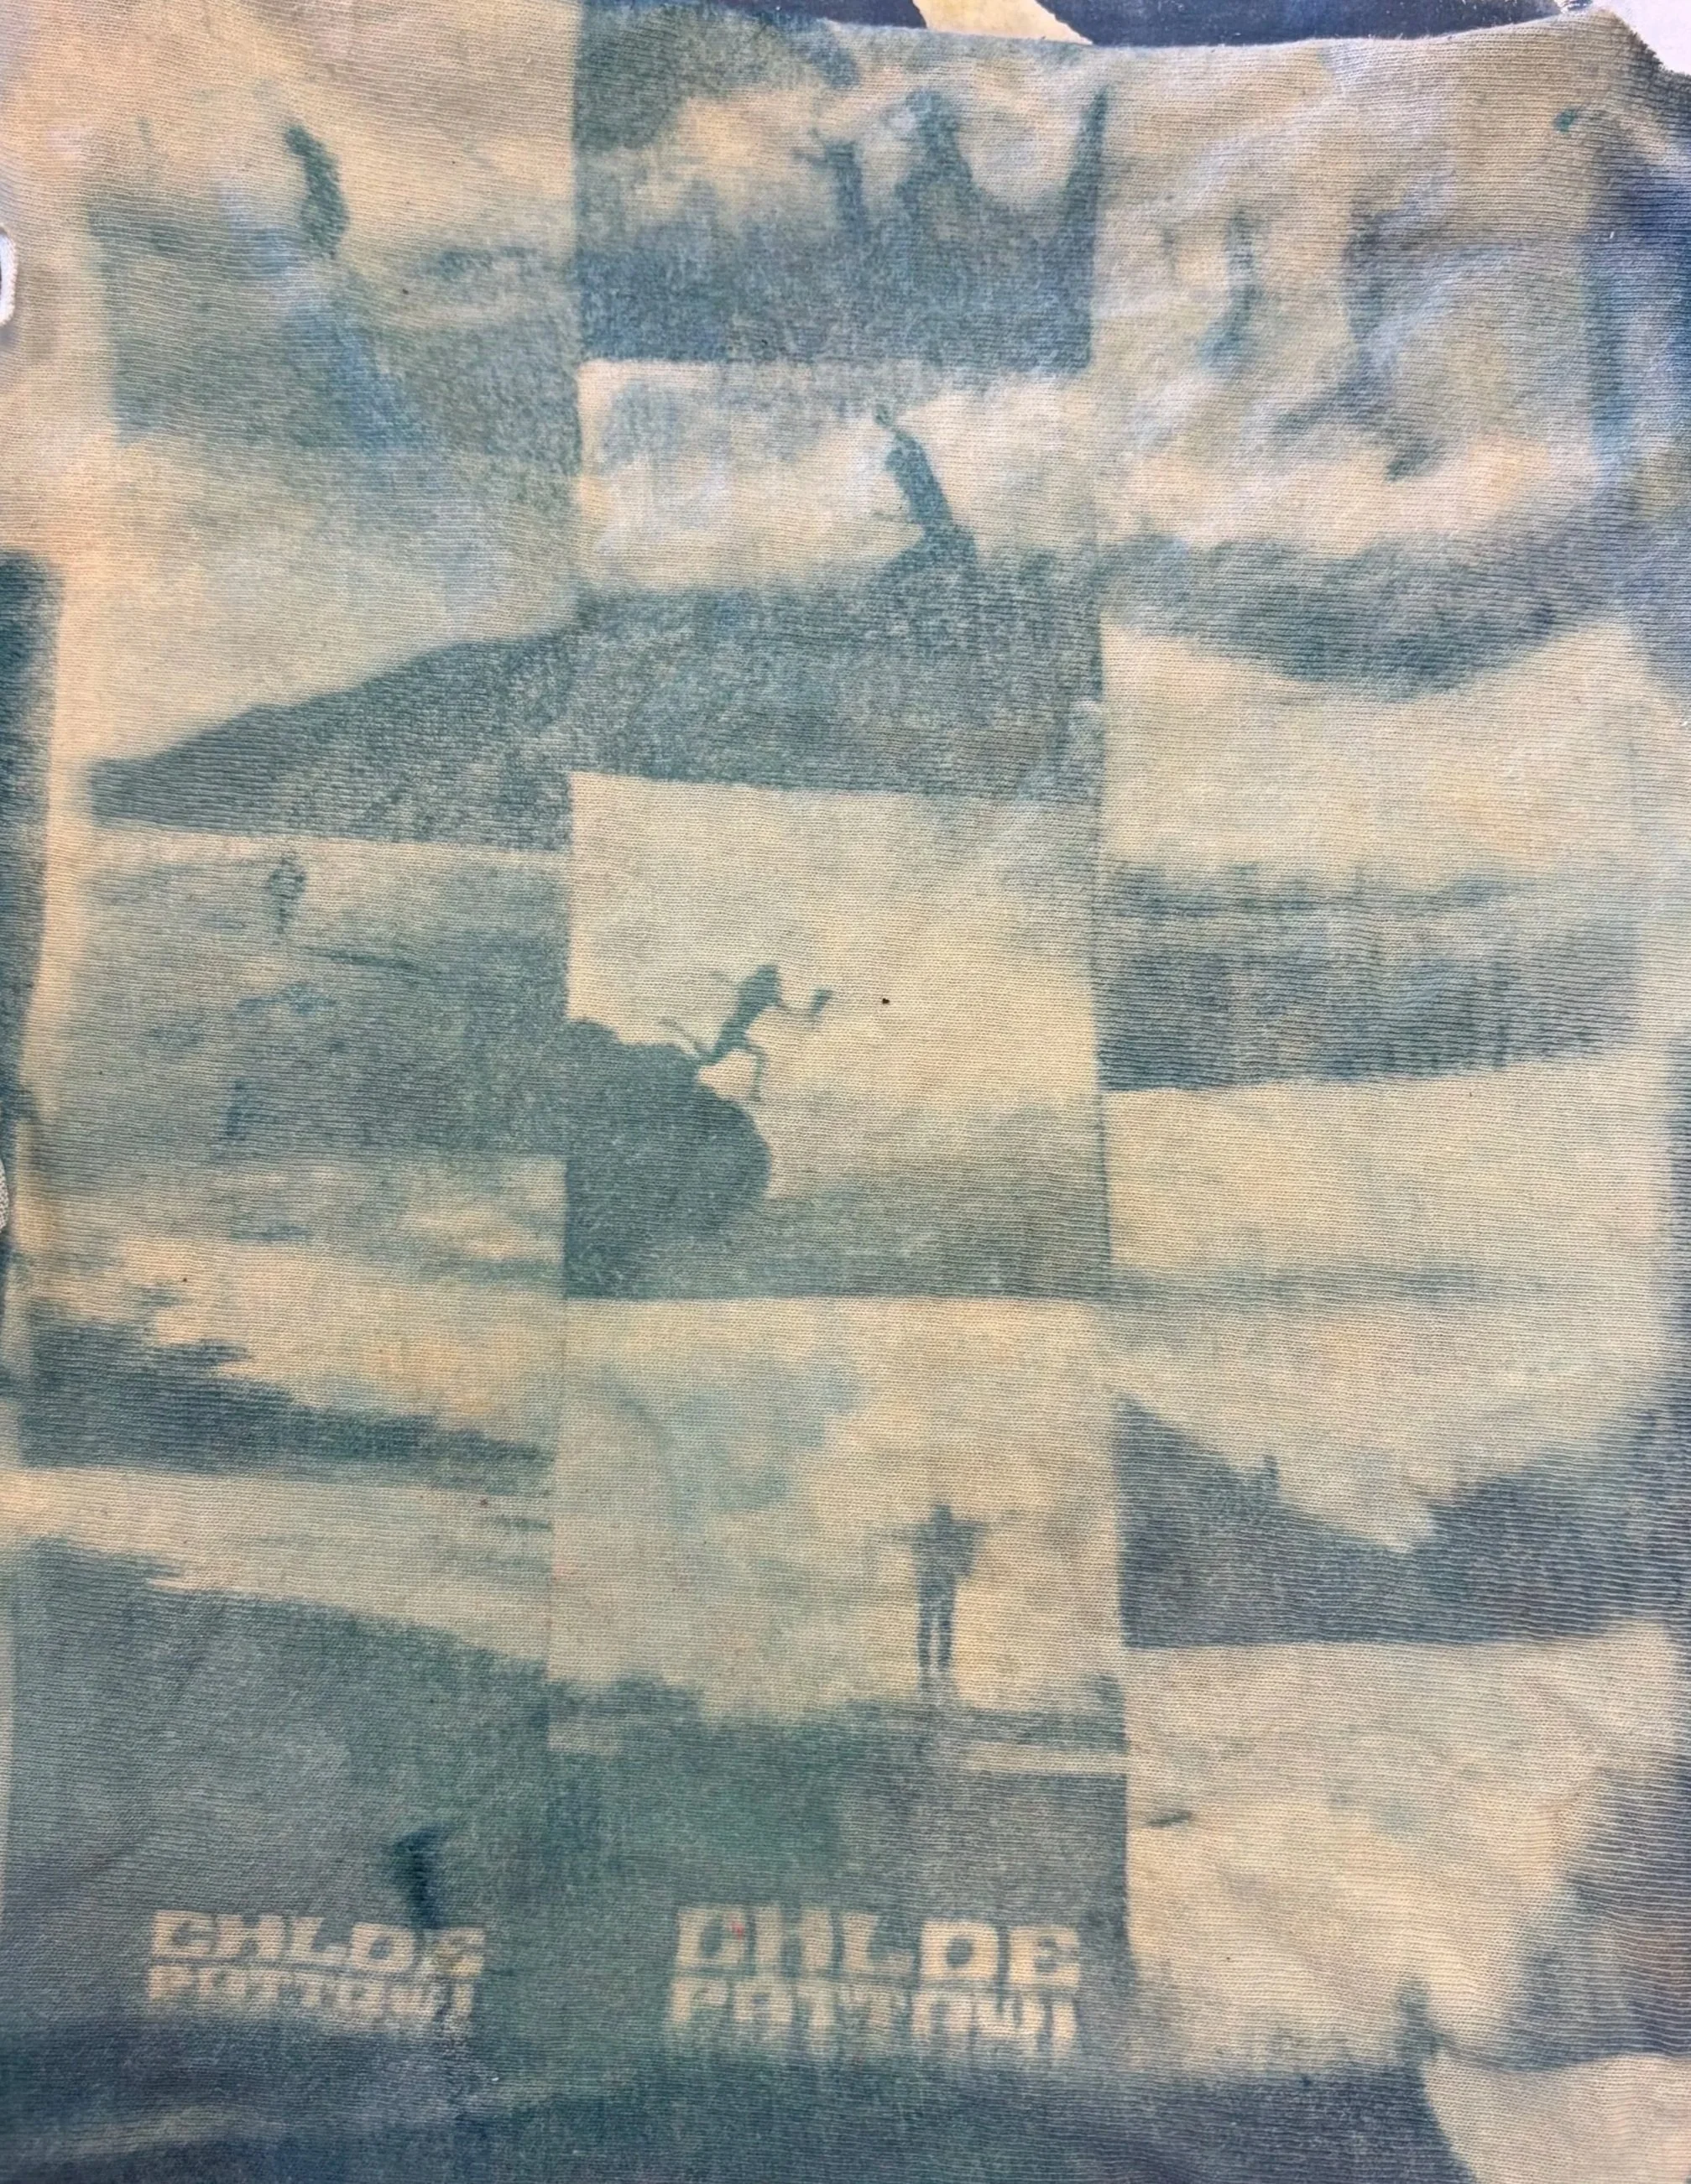
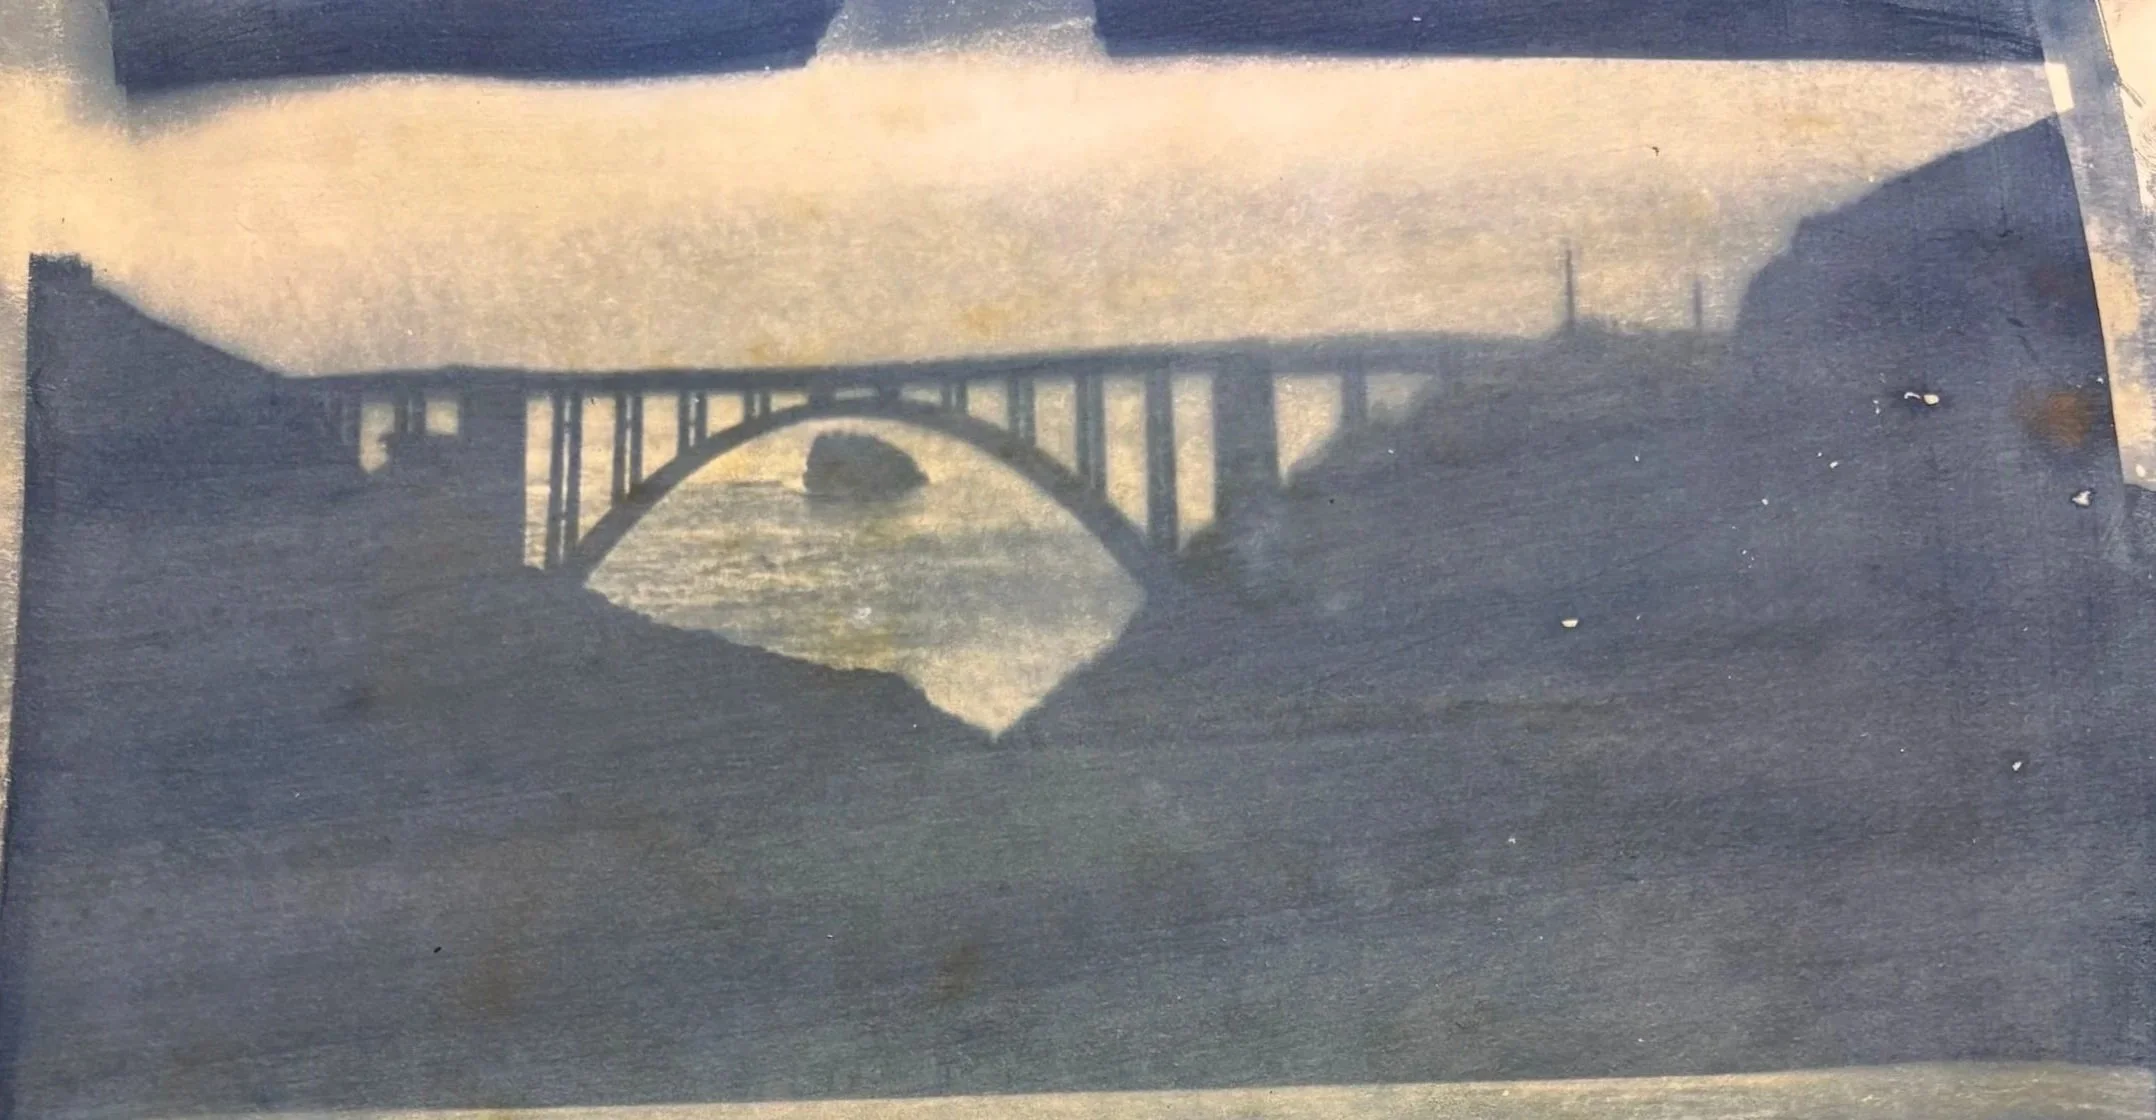
Clear Photo Prints
Here are images of how the clear prints looked on a piece of white paper. You can see in these prints that I have lots of images from Big Sur, CA, which is a beautiful city near my hometown that I get a lot of art inspiration from.

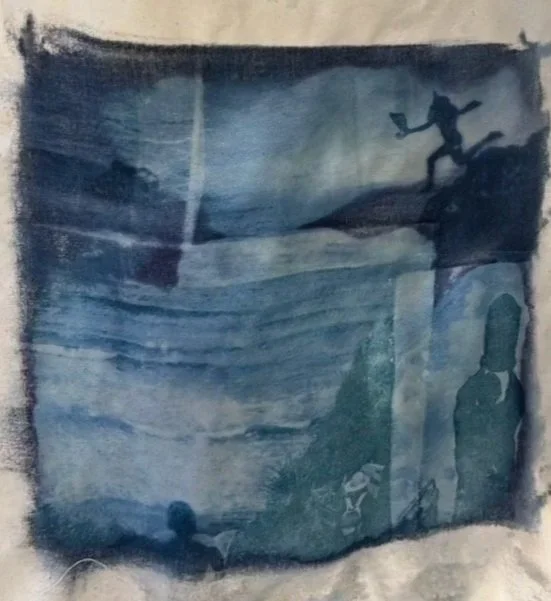
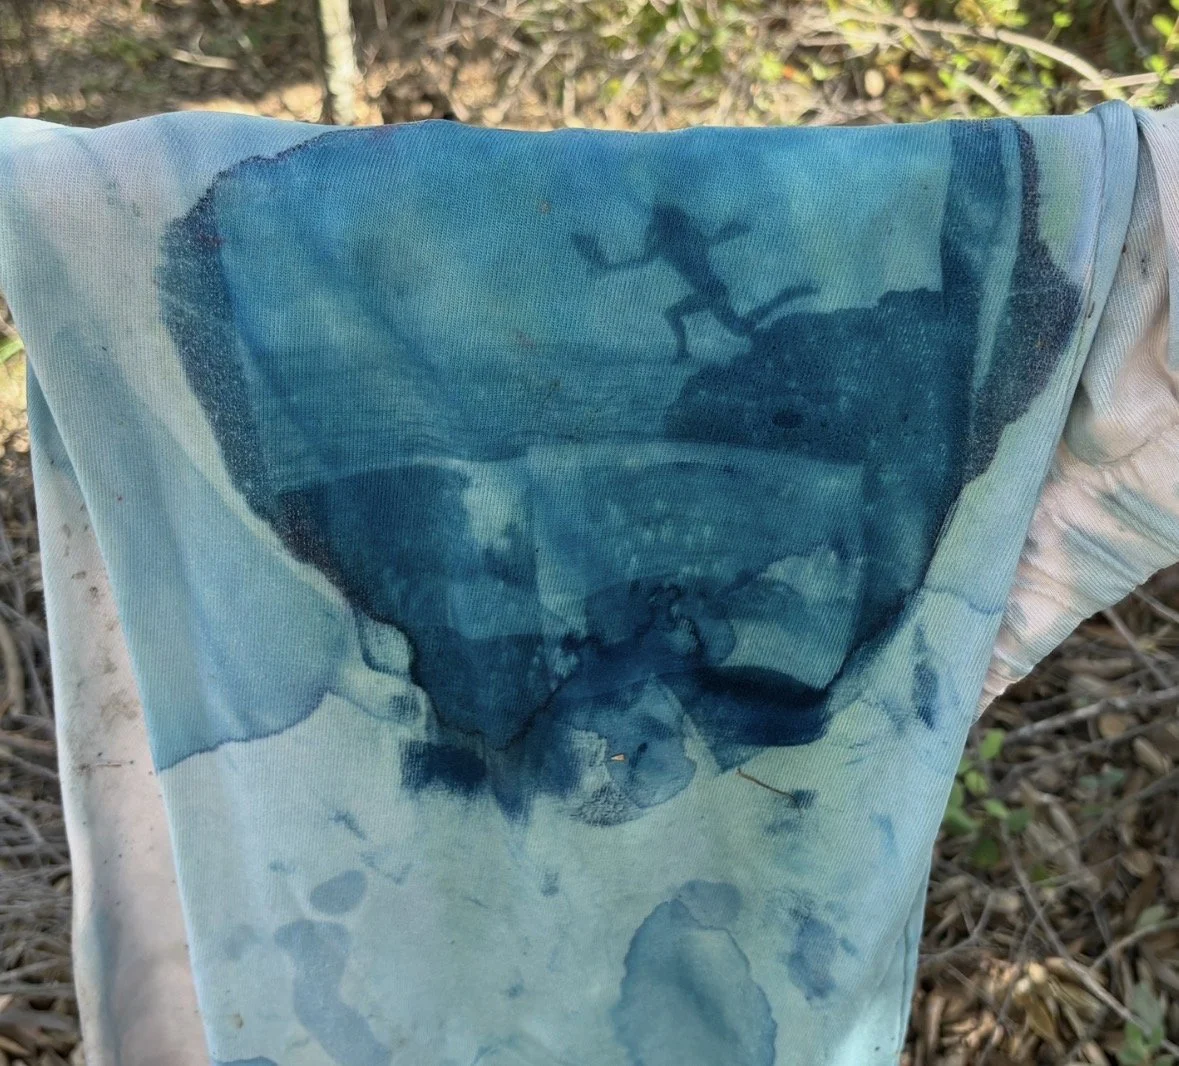
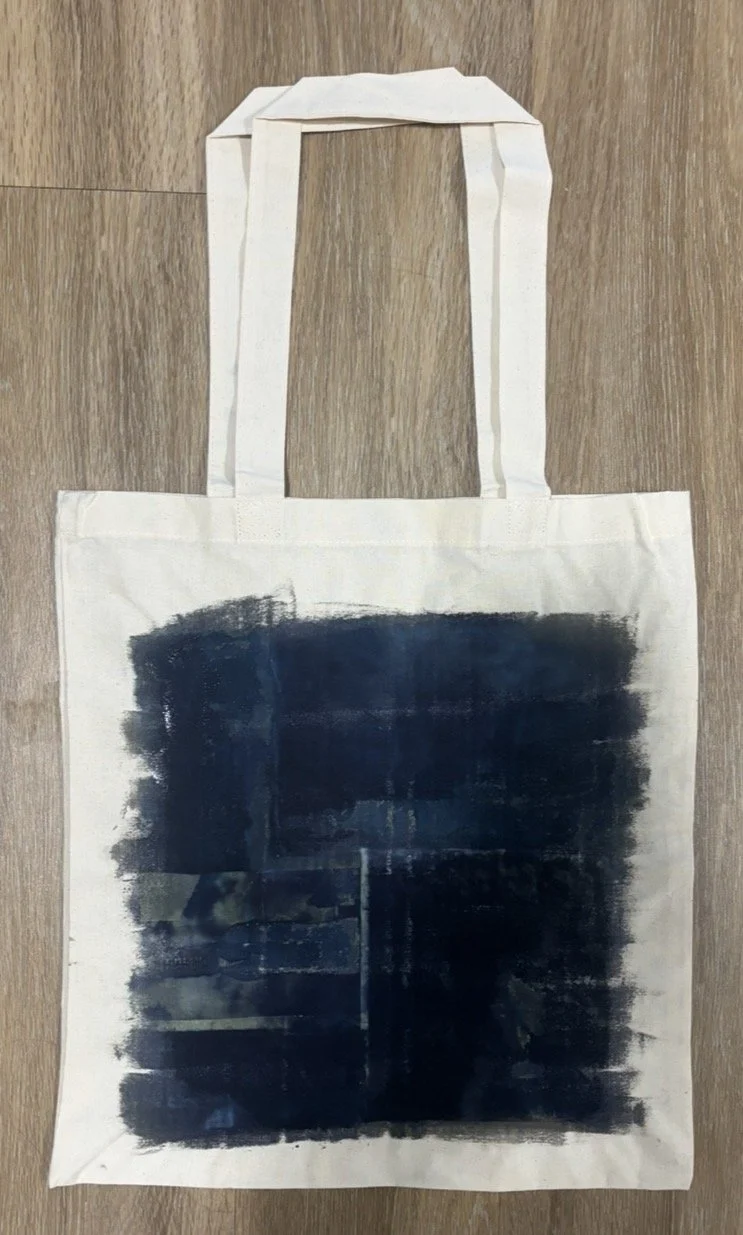
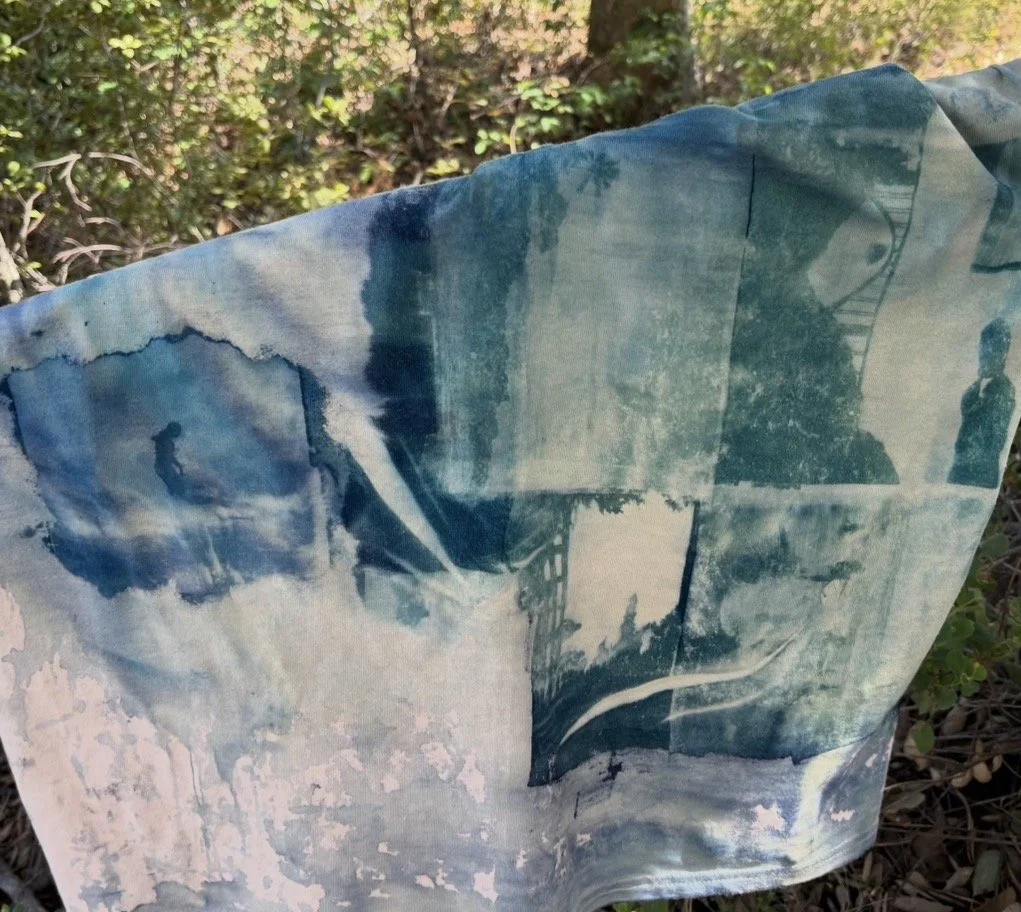
Test Prints
These images are my first test prints. I tested my prints on both fabric and different weights of paper to see which were coming out best. Although after trying them on the canvas bags, I realized that was the best material for clear, crisp prints.
PROCESS
Step 1
Choose your medium for your cyanotype.
Step 2
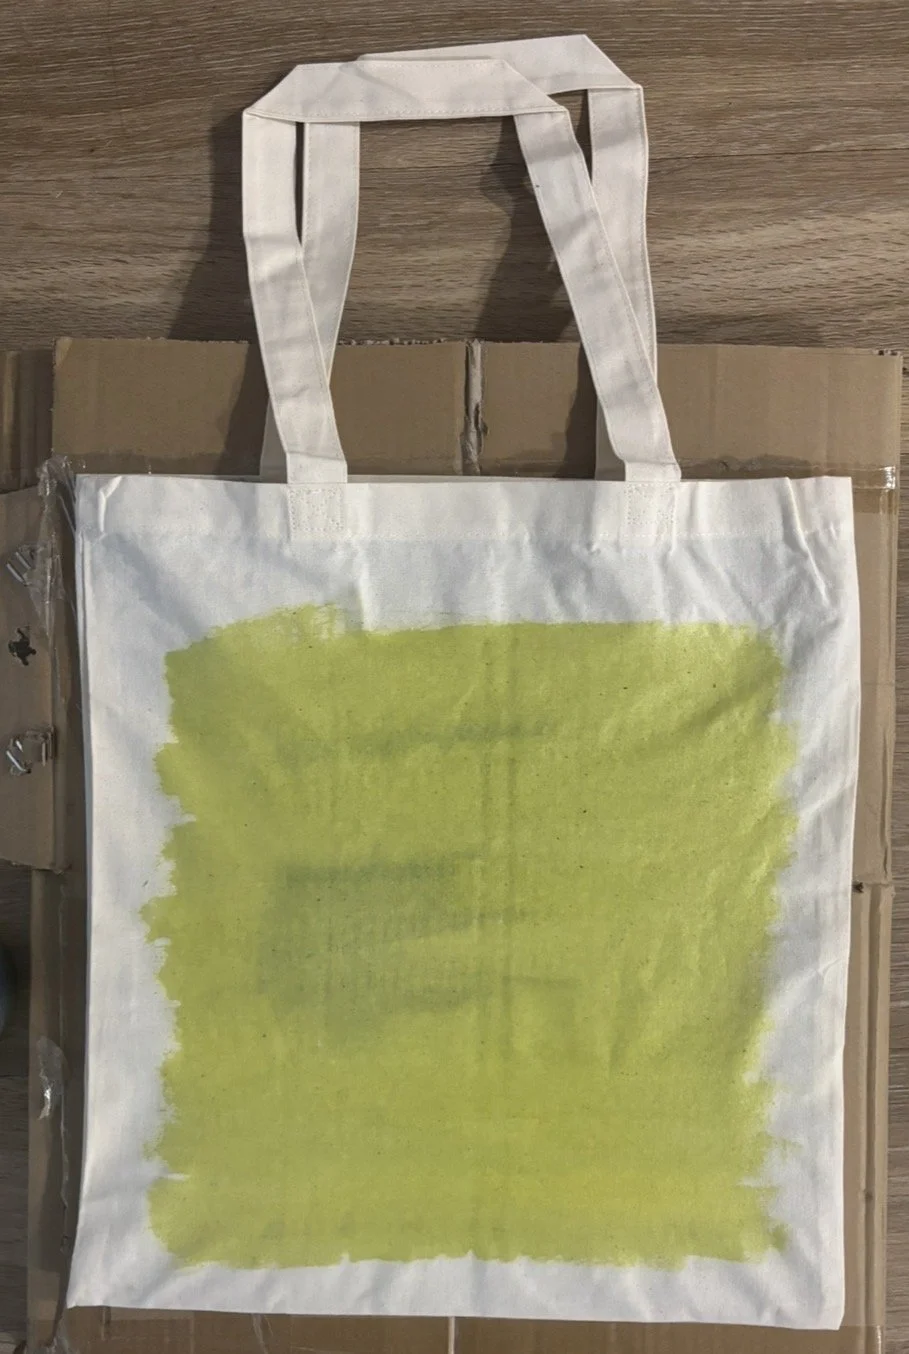
Paint your solution onto your chosen medium.
Step 3
Create your image collage and tape it to your medium.
Step 4
Set your cyanotype in a sunny area.

Step 5
Leave your print in the sun for about 20 minutes.
Step 6
Remove your print from the sun and rinse out any excess dye.